
Extensions · 51 photographs
Anatomy of a rear extension
One job, photographed from the first cut in the lawn to the ochre feature wall — every stage of a full-width rear extension on a 1930s pebbledashed semi.
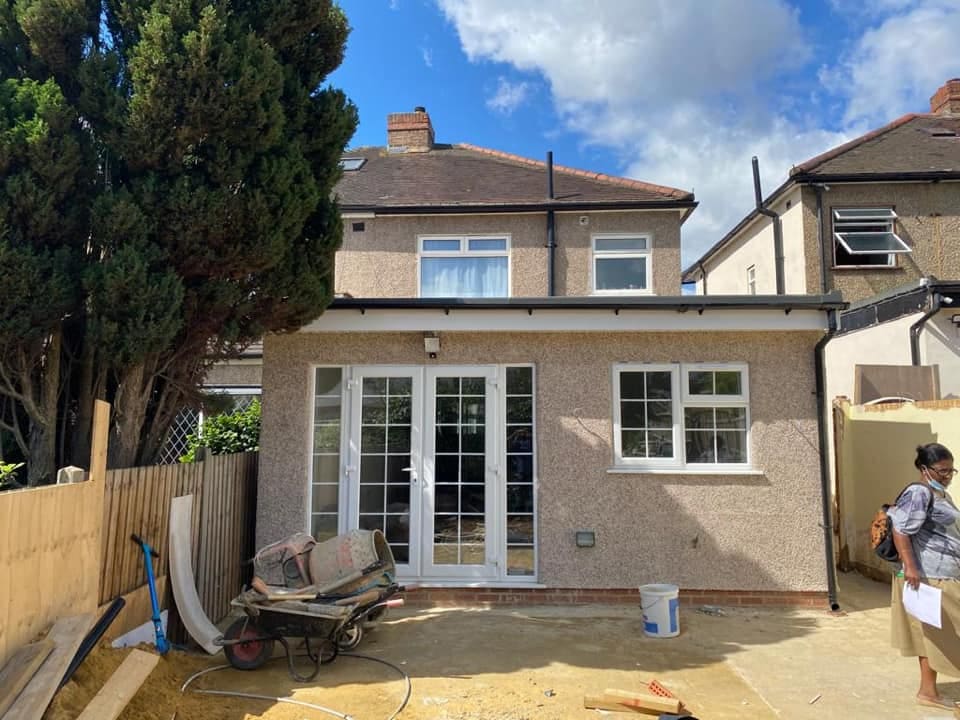
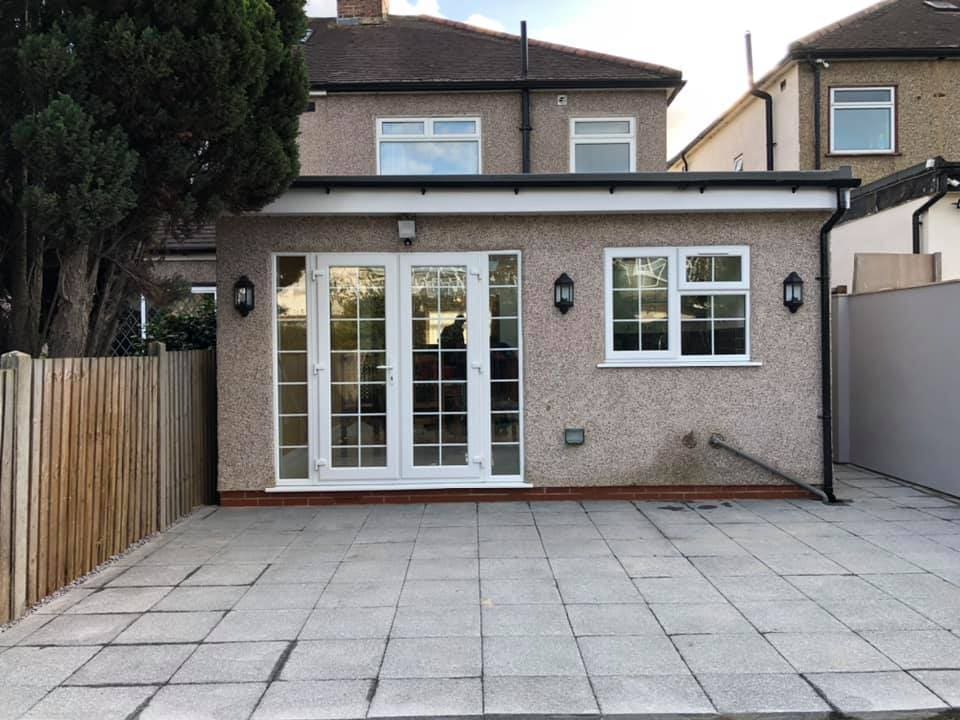
The rear elevation, finished
Completed rendered rear extension with French doors and new patioThe story
Most builders show you the last photograph. This is the whole story of one extension — the same house, from the day the digger arrived to the day the family got their kitchen-diner — because the stages nobody photographs are the ones that decide whether an extension is still perfect in twenty years.
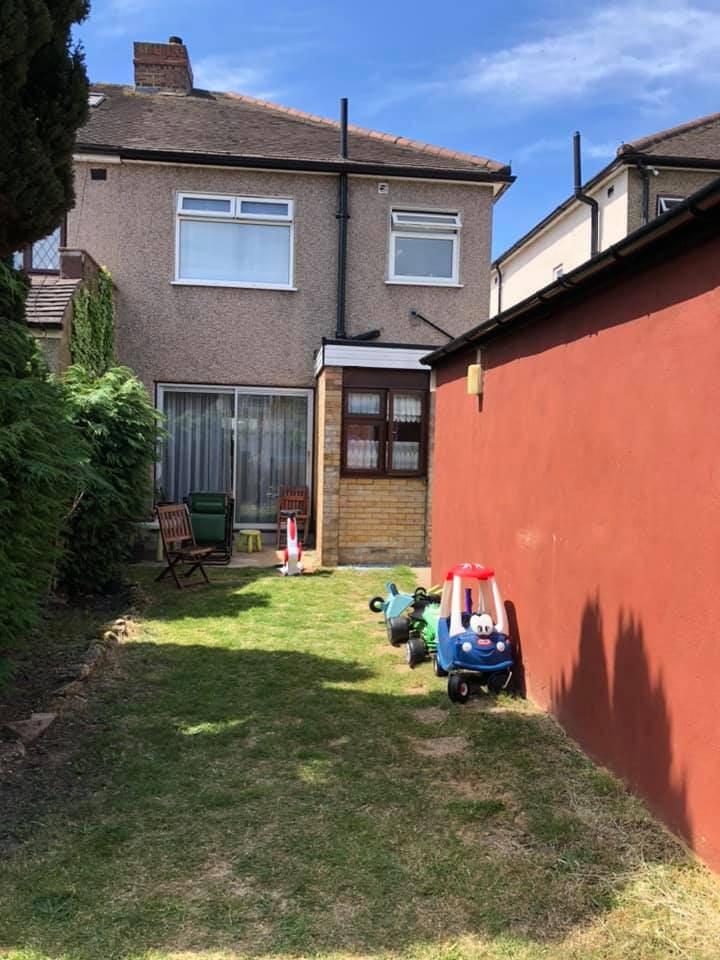
The house is the commonest type in outer London: a 1930s semi with a decent garden and a rear elevation asking to be opened up. What follows is exactly what we would do at yours.
Breaking ground
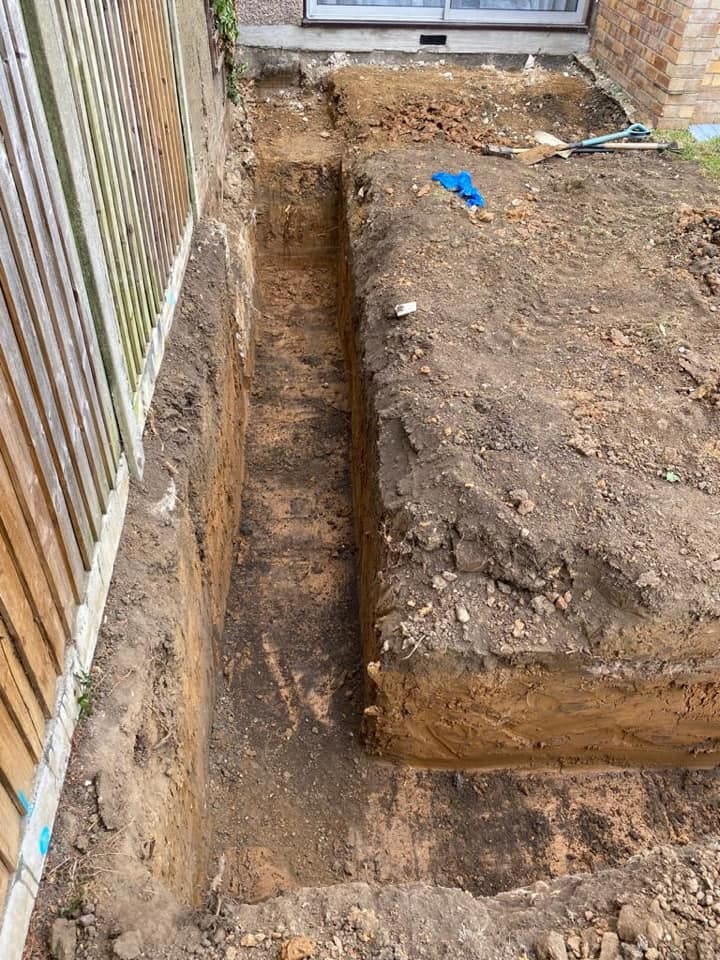
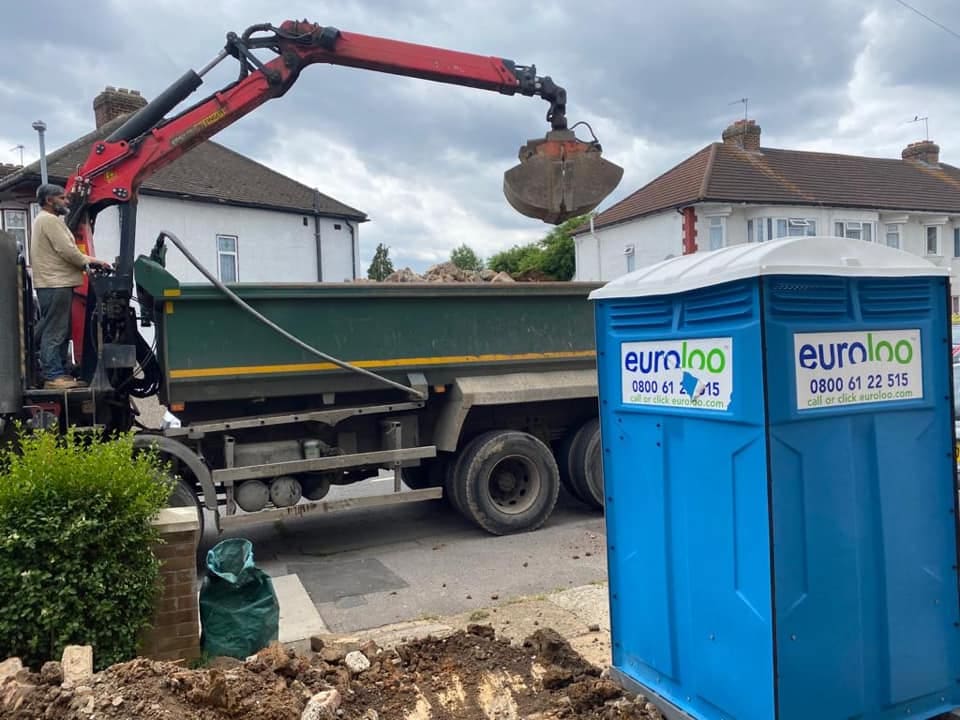
The dig is where an extension is won. These footings were cut clean into London clay to the depth the structural engineer specified — not the depth that was convenient — and building control inspected the open trench before a drop of concrete went in.
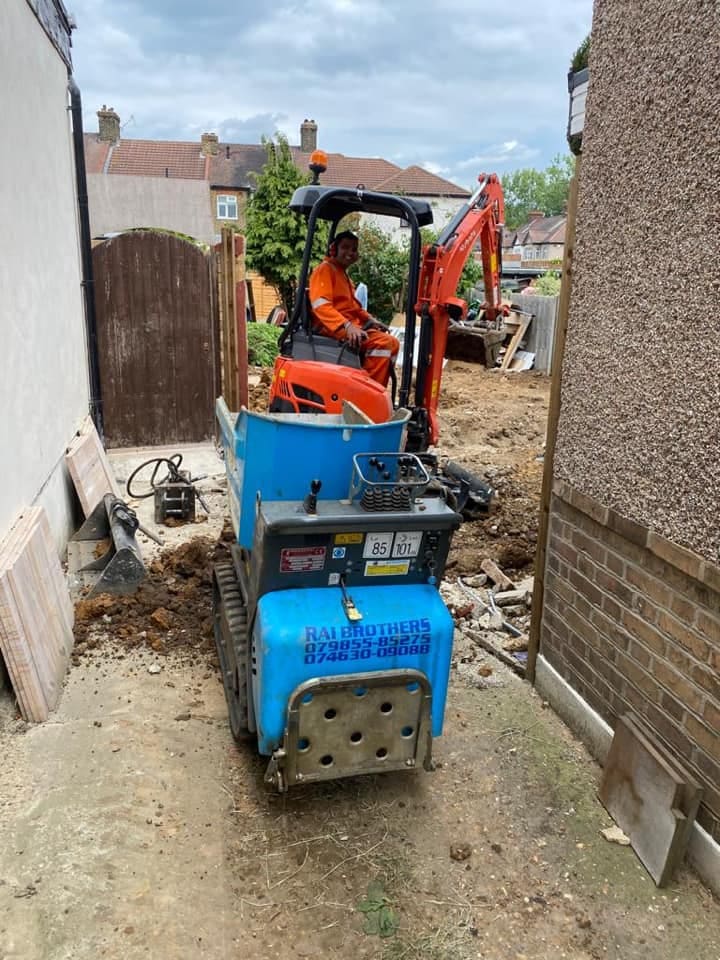
Spoil went out by grab lorry the same week. On a suburban street, how fast you clear muck decides how long the neighbours stay friendly.
Steel and blockwork
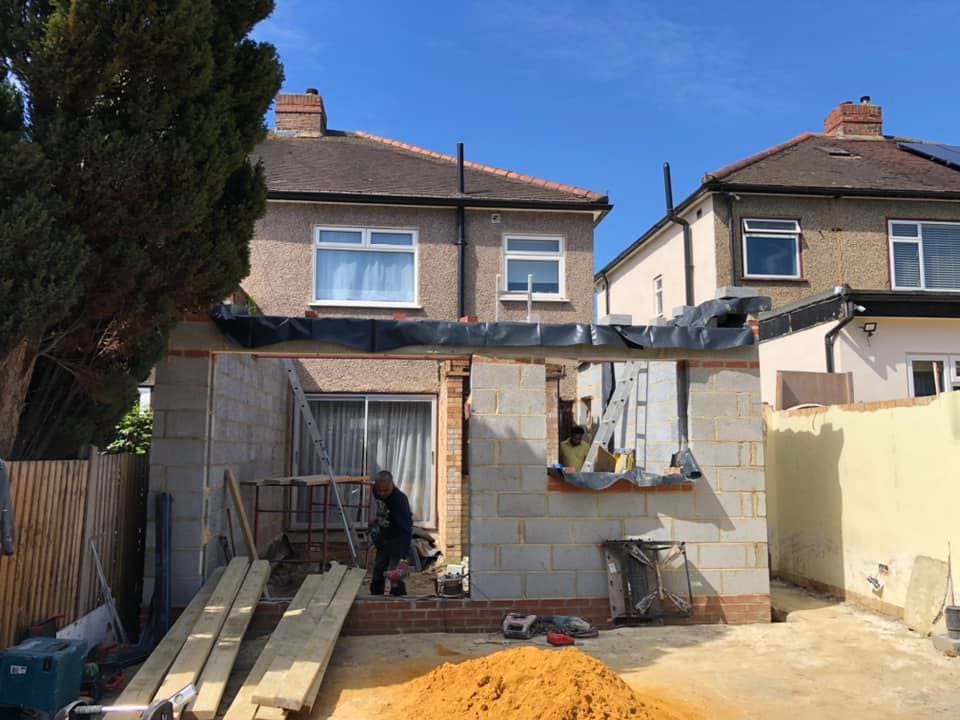
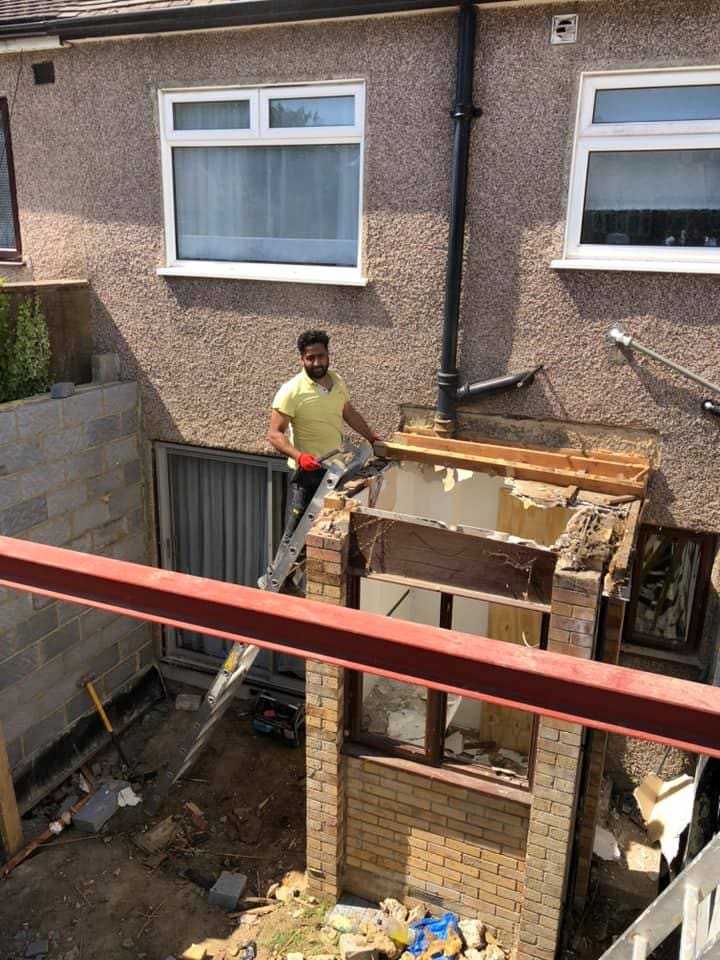
One steel beam carries the back of the house where the old rear wall used to be. It was sized on calculation, craned in by hand the old way, and inspected on its padstones before anything covered it.
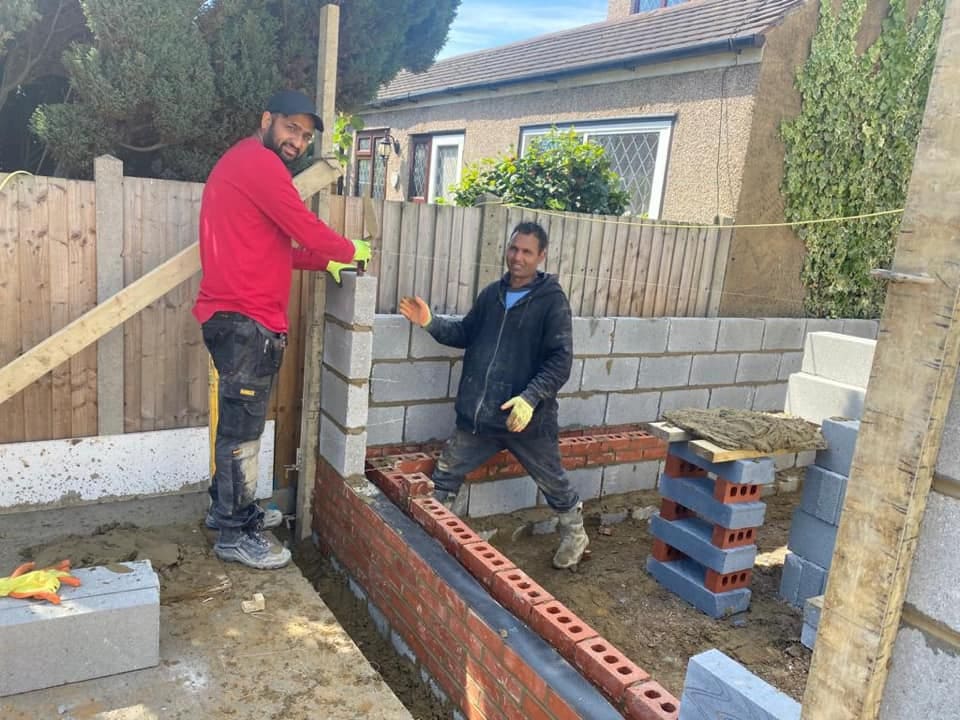
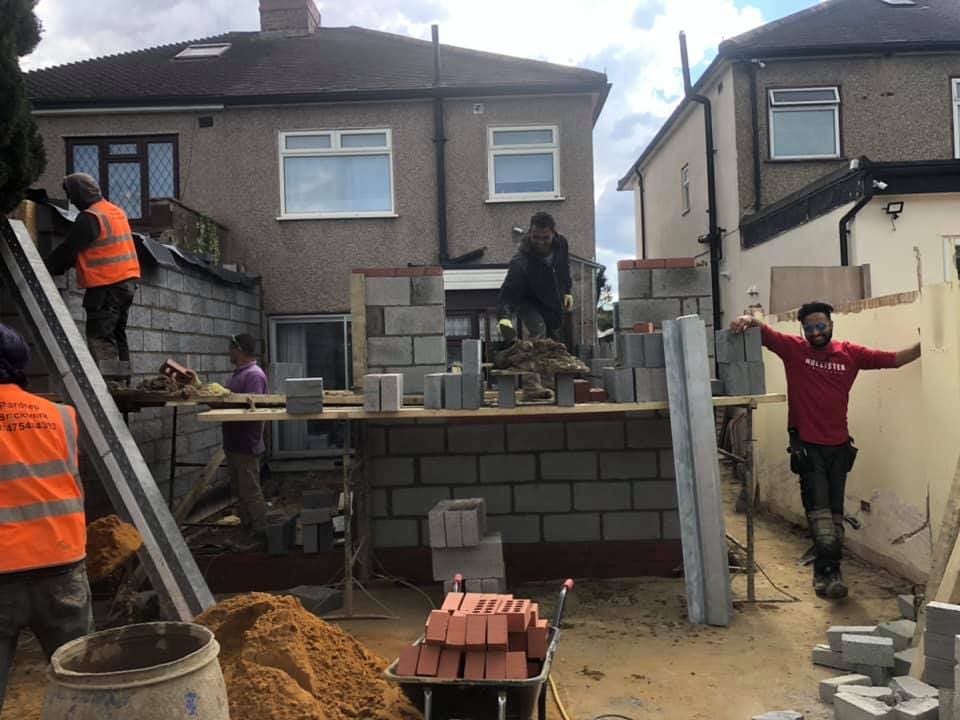
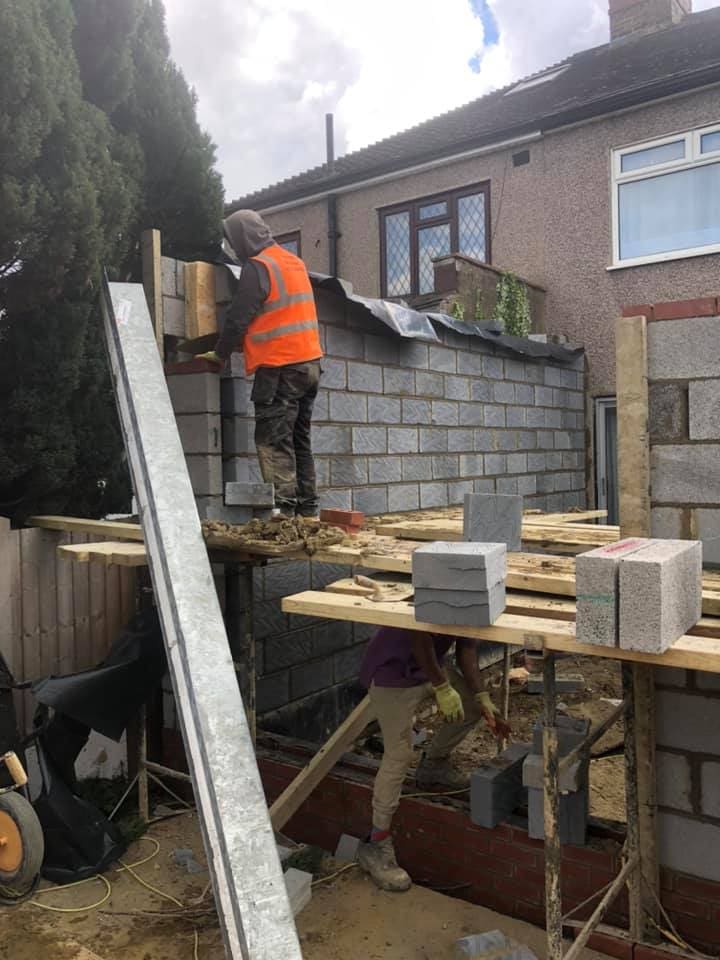
Then the cavity walls came up in blockwork — insulated, tied, and levelled off ready for the roof. Two bricklayers, a line, and no shortcuts you would ever see from the kitchen.
A roof built like a tank
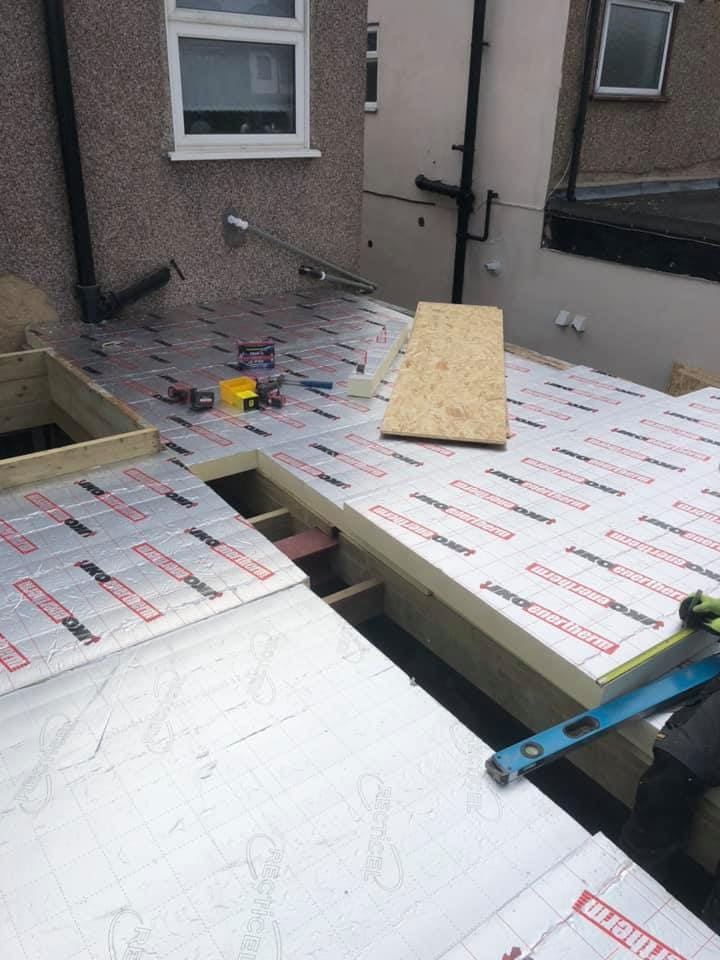
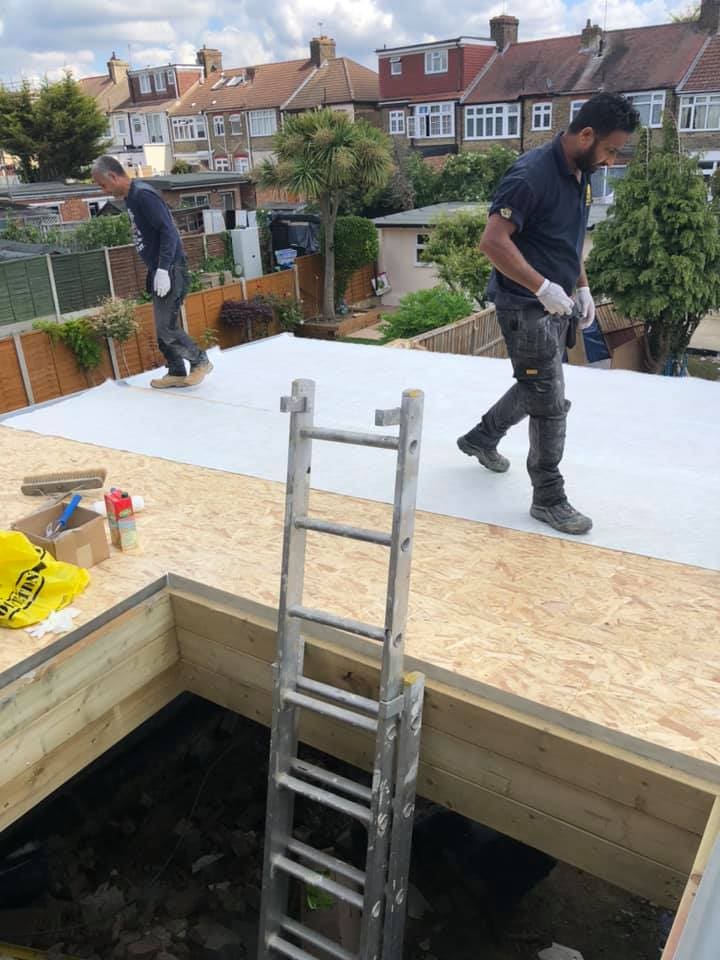
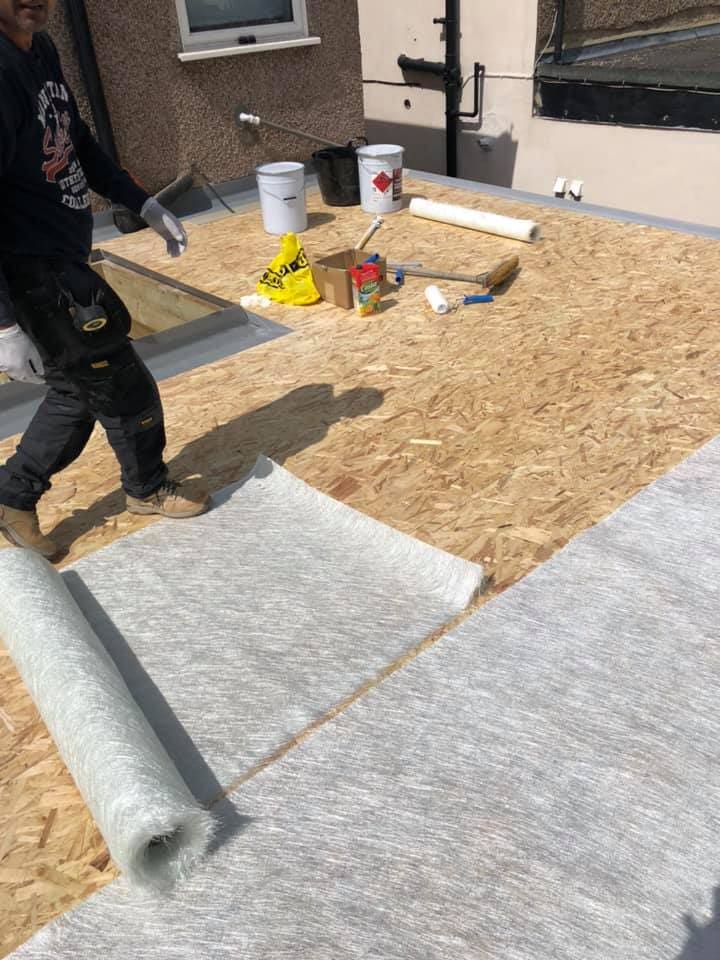
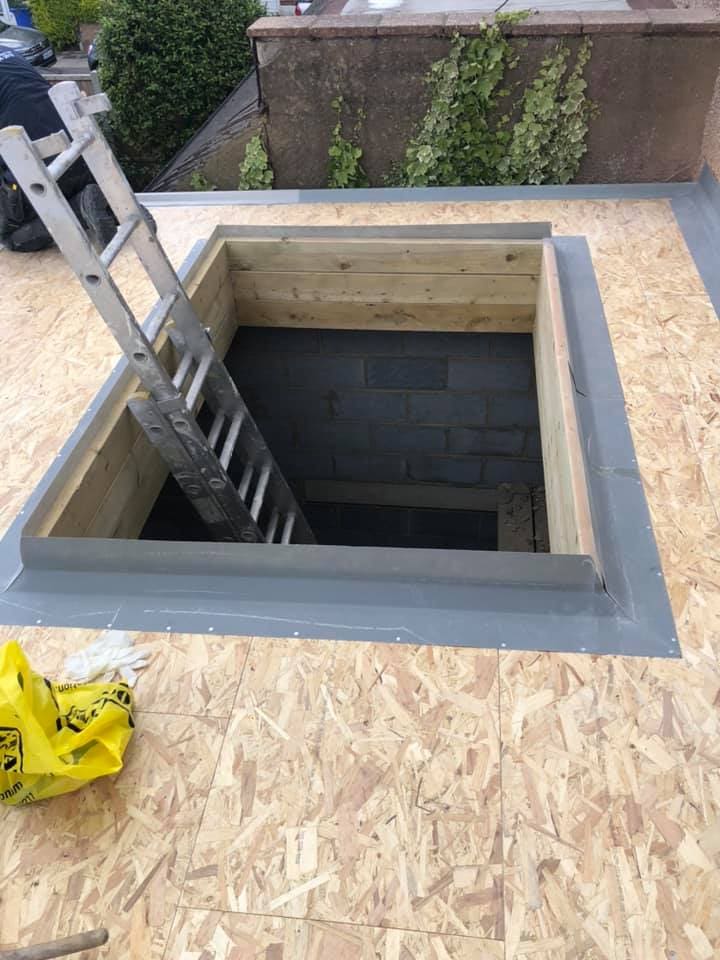
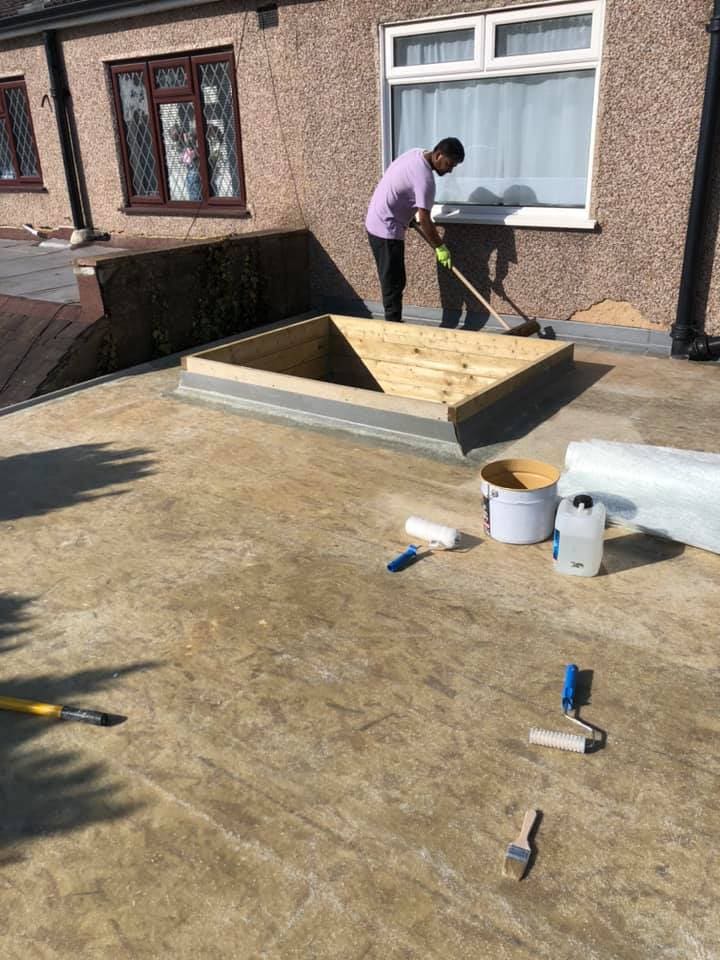
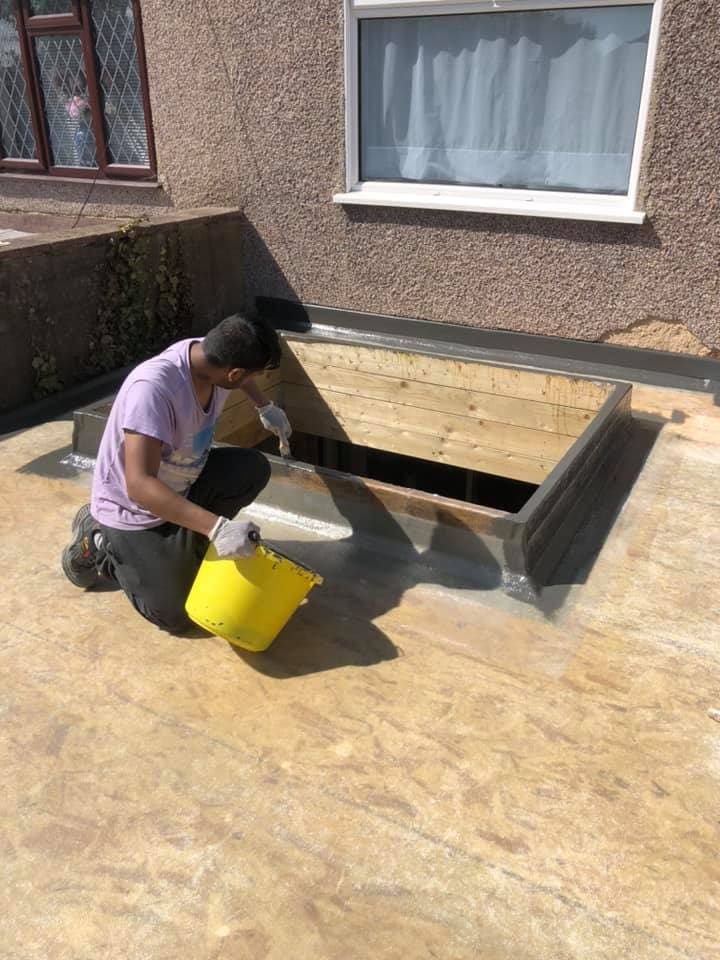
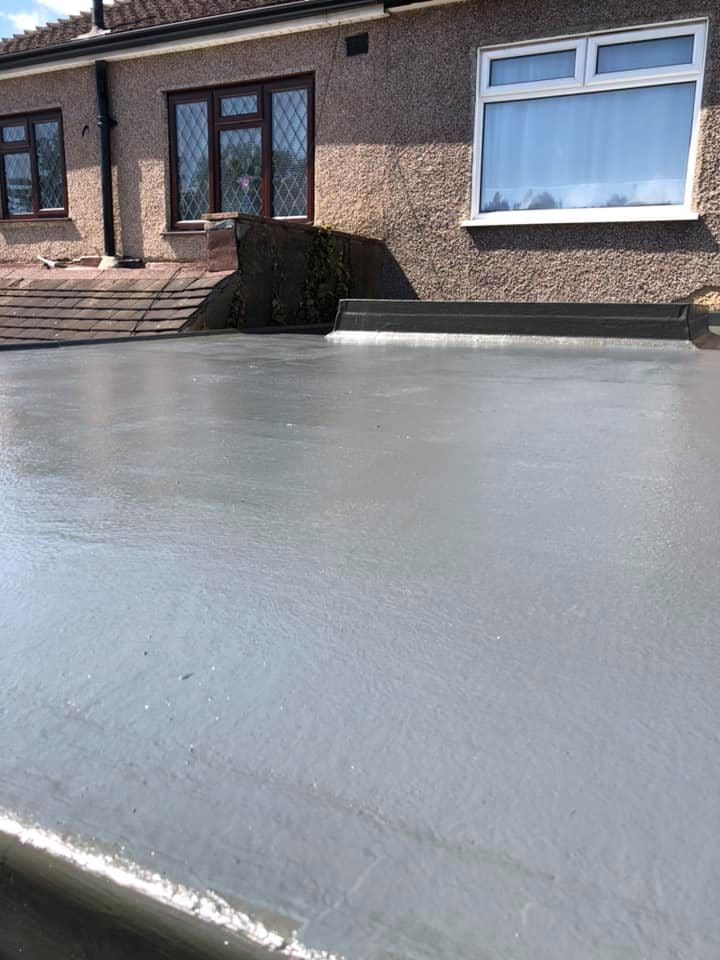
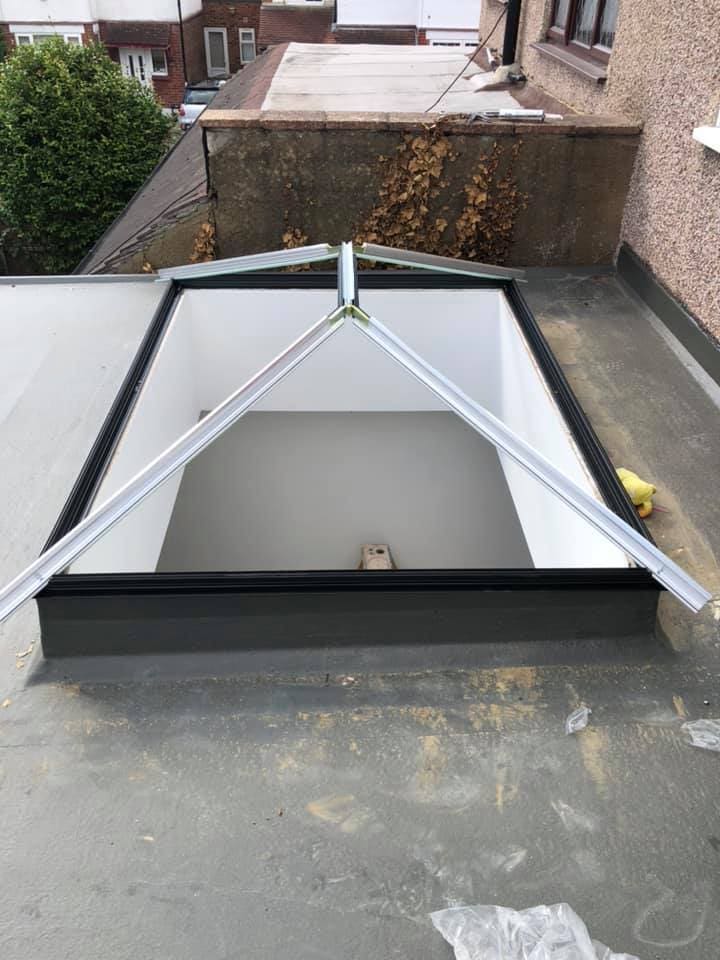
This is a warm roof: thick insulation over the deck, OSB over that, and a single seamless skin of GRP fibreglass laminated on top. No felt, no joints, no places for water to think about.
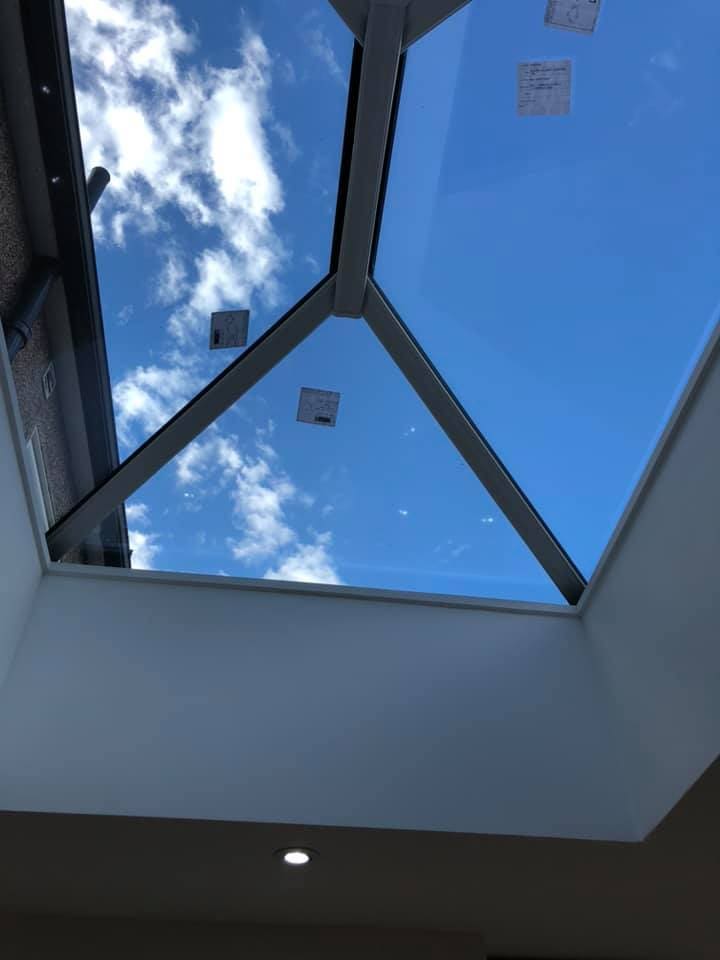
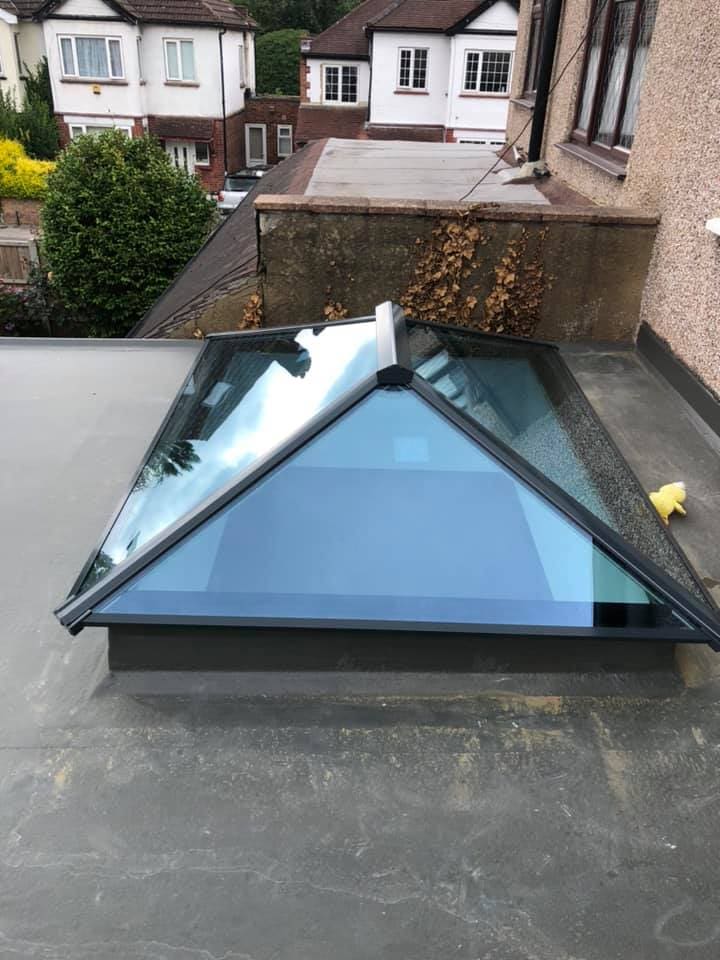
Two lantern openings were trimmed into the deck and their upstands laminated by hand. The grey membrane you can see cured into one continuous surface — then the lanterns dropped on and the room below got its sky.
The floor nobody sees
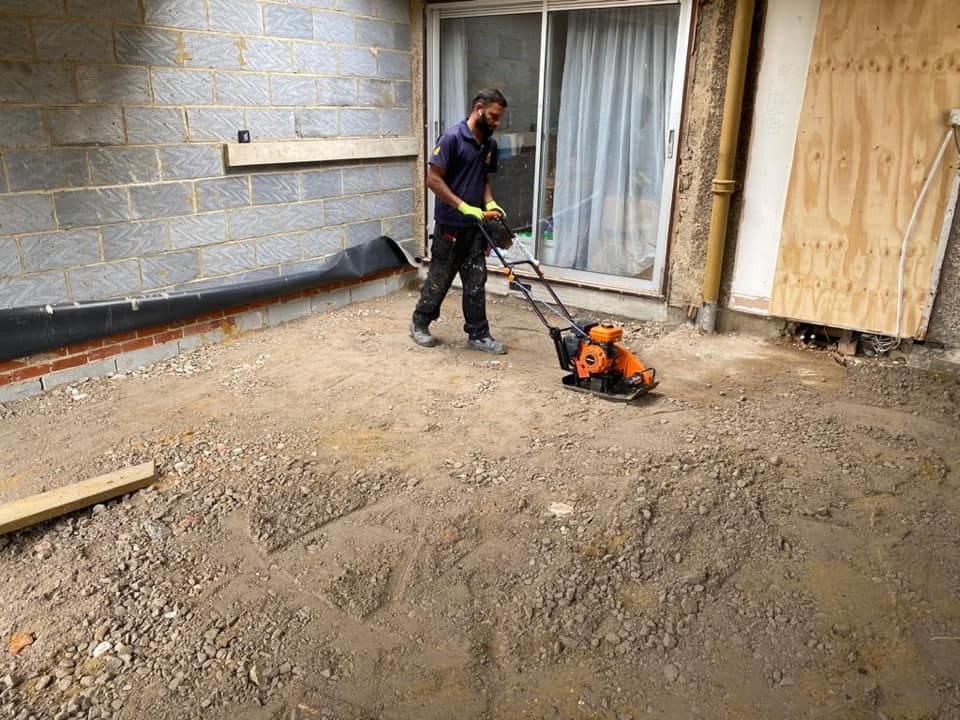
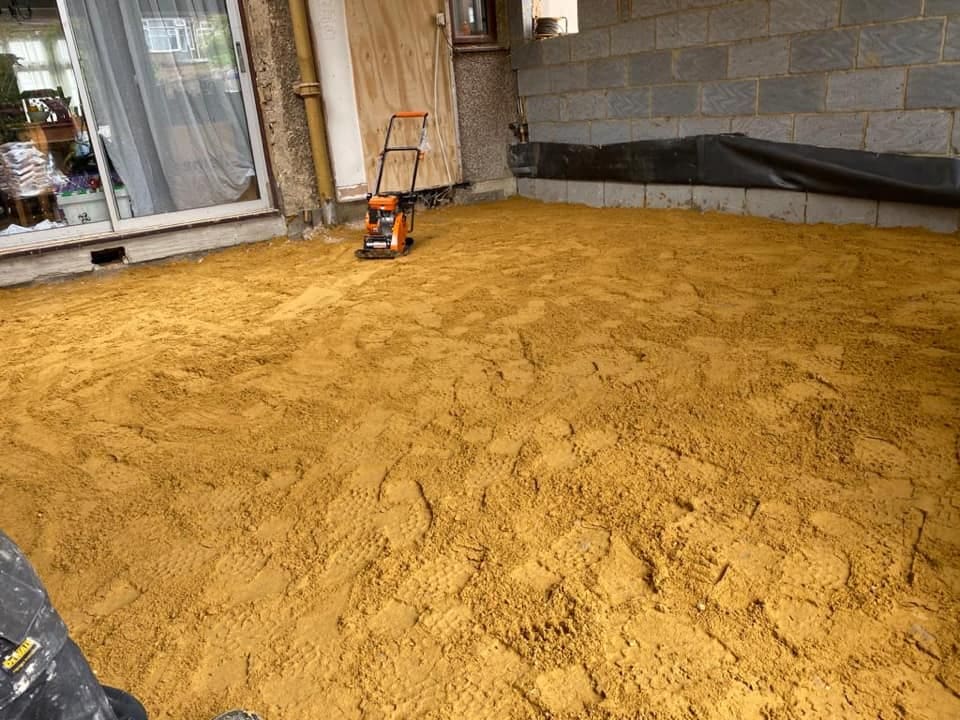
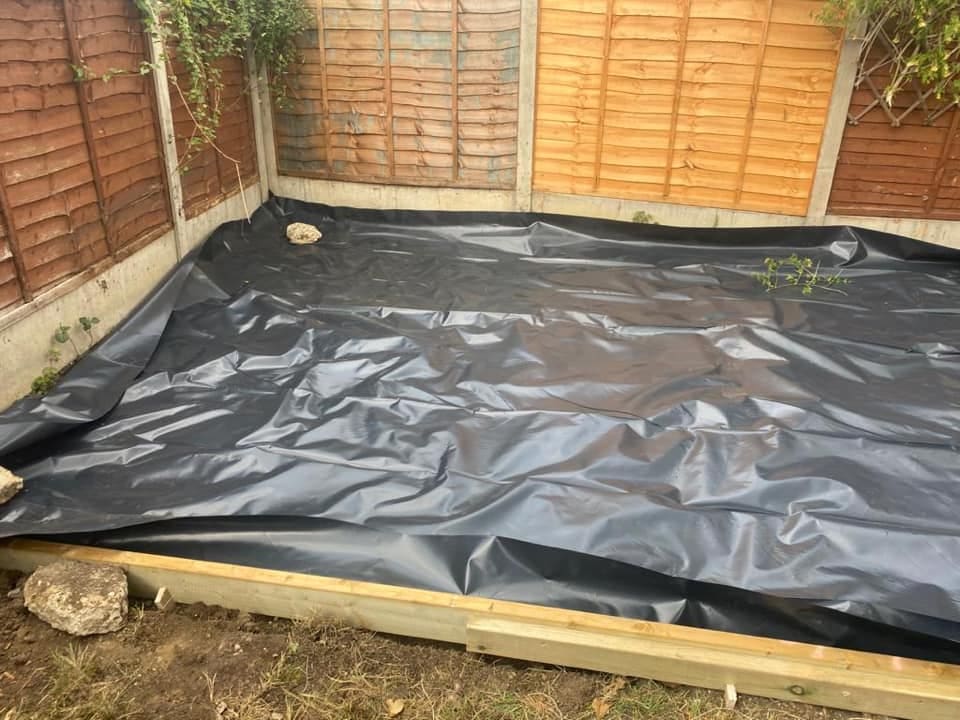
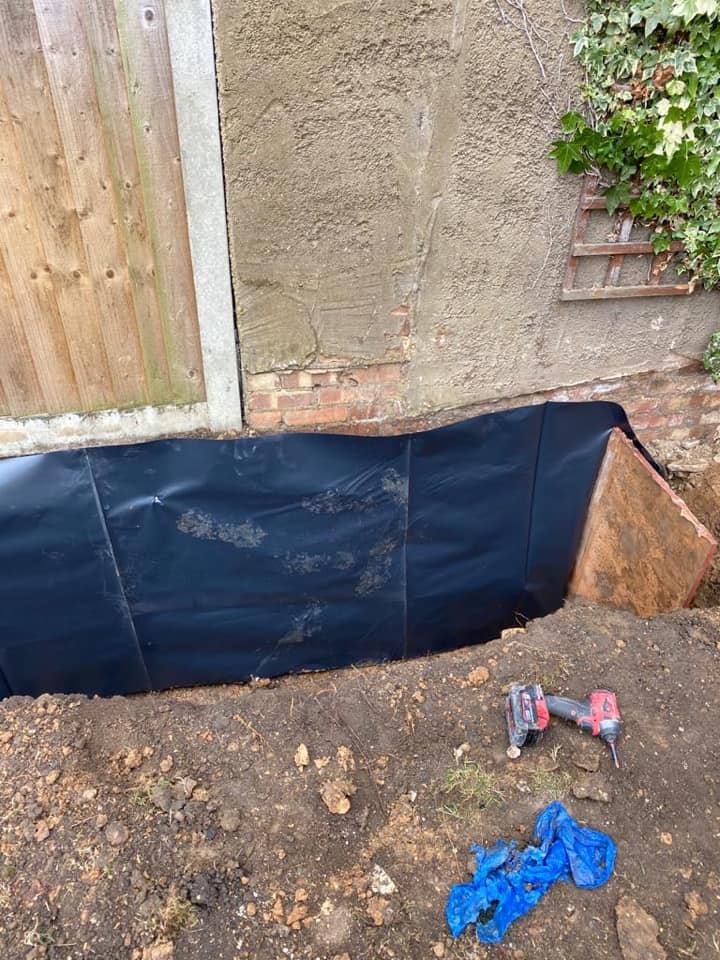
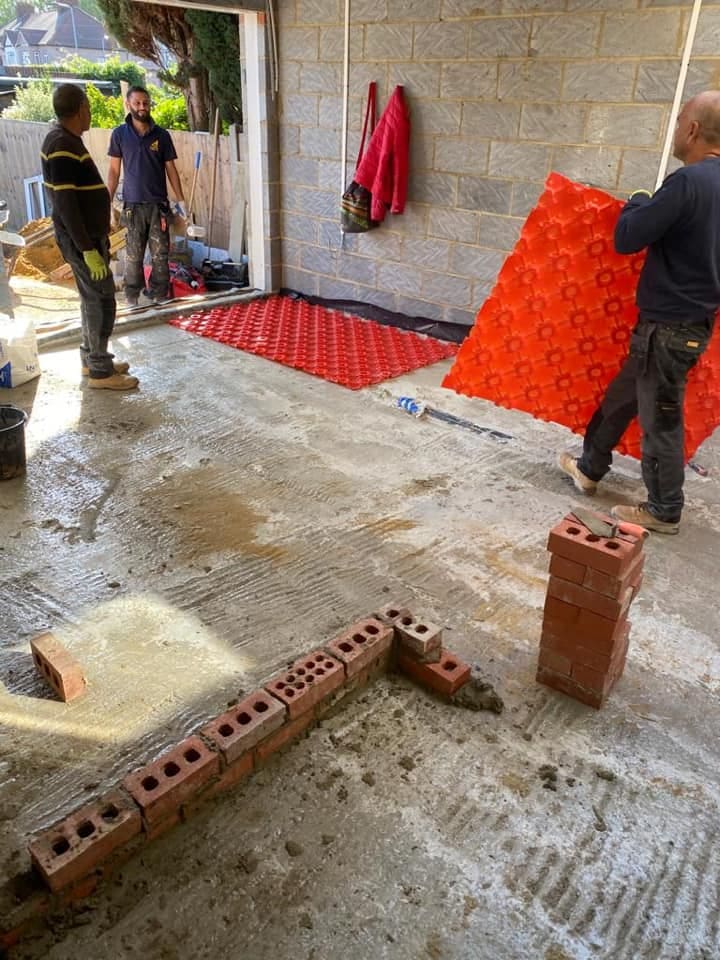
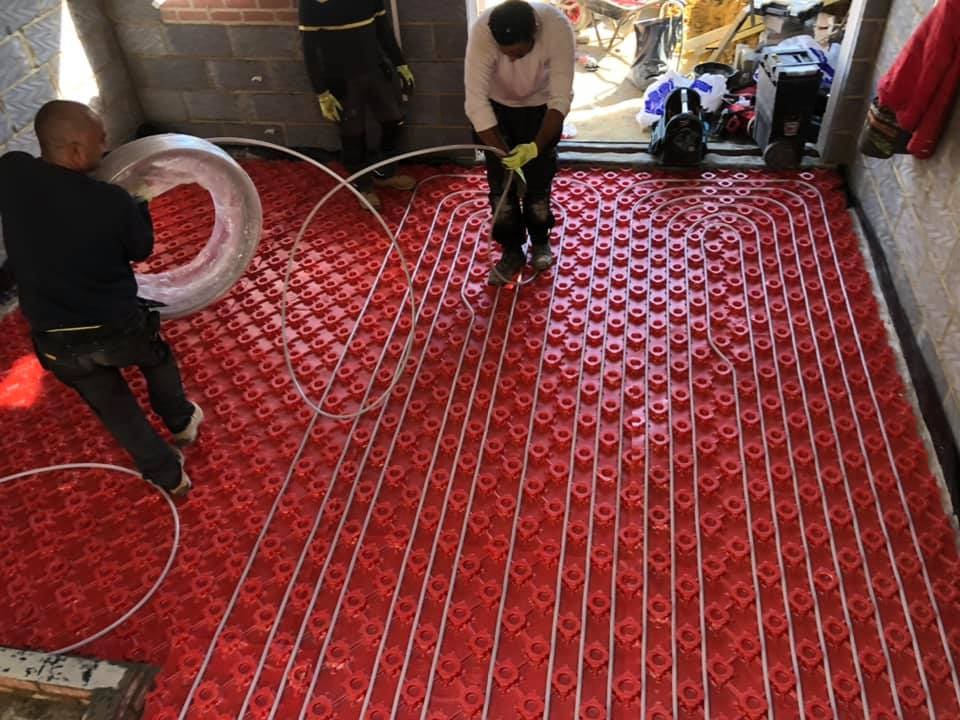
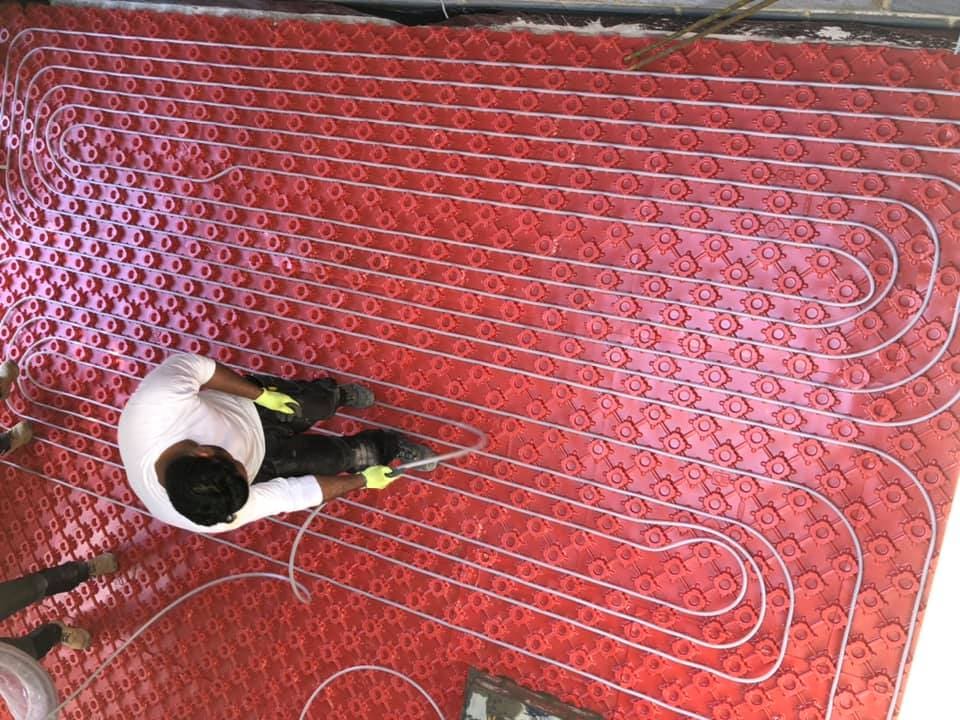
Under the finished floor there are five layers, and each one exists for a reason: compacted sub-base, blinding, damp-proof membrane lapped up the walls, a pumped concrete slab, then insulation with underfloor heating clipped over it in tight red circuits.
Every loop was pressure-tested and left under pressure while the screed went down — so if a pipe had been nicked, it would have shouted before the floor was buried, not after.

Matching the house
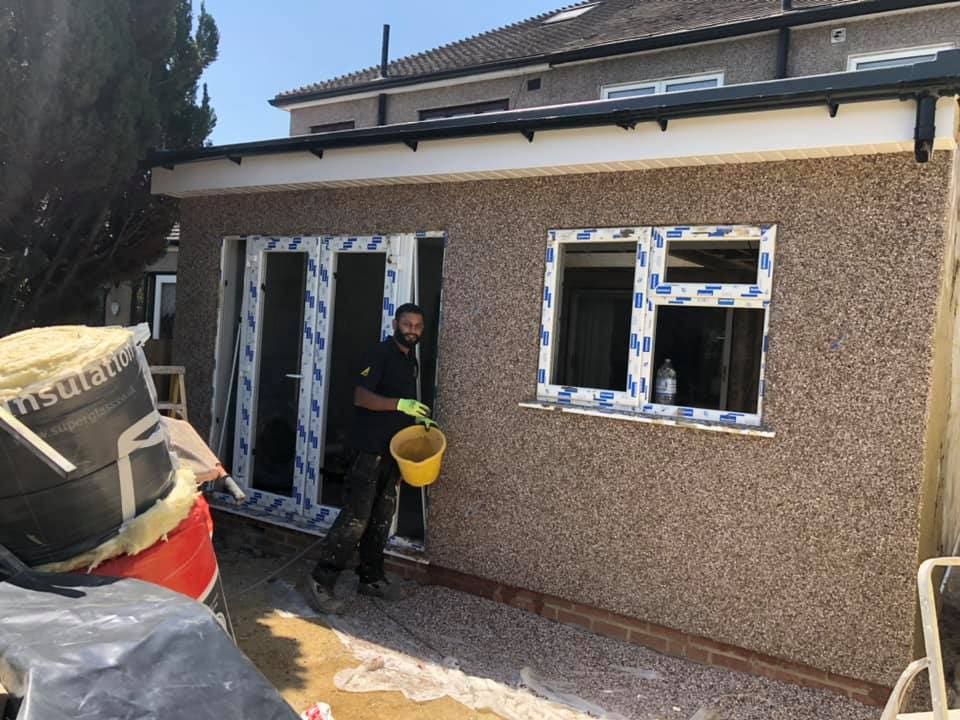
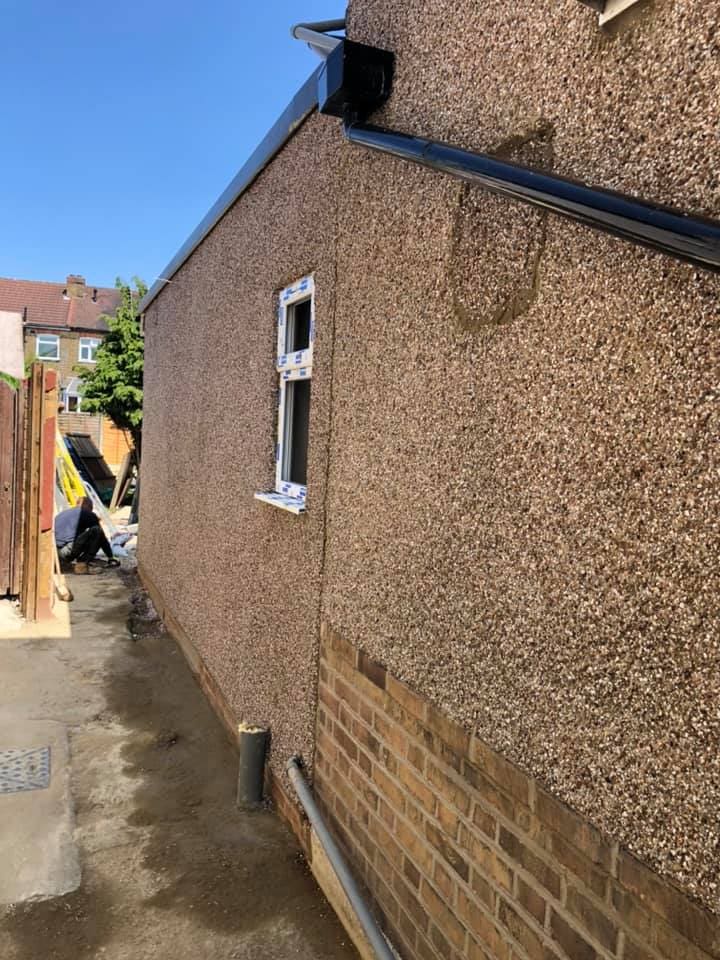
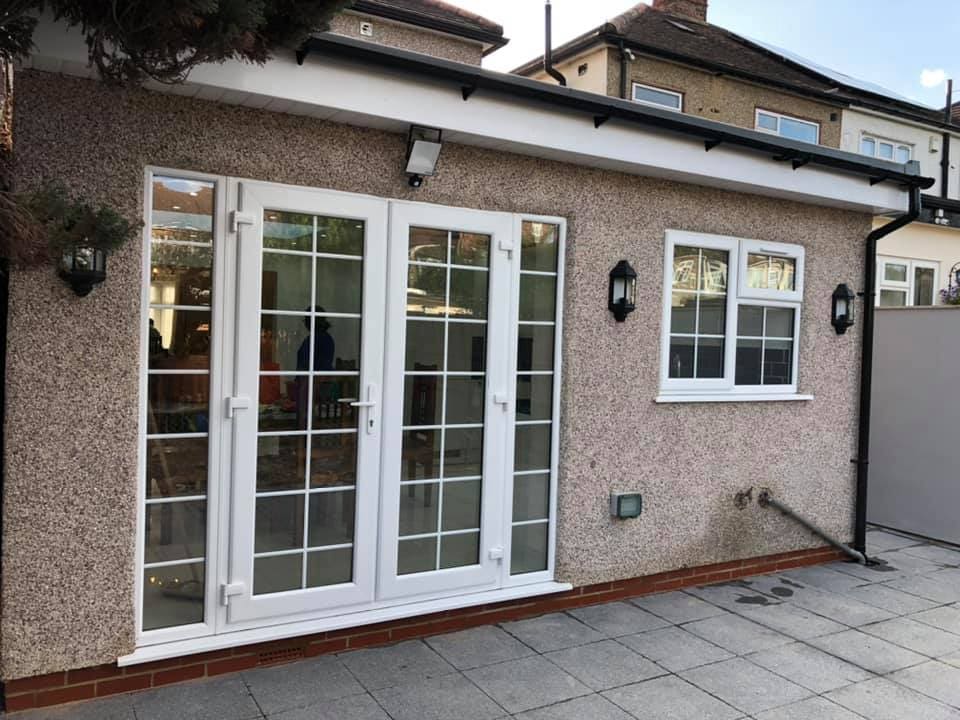
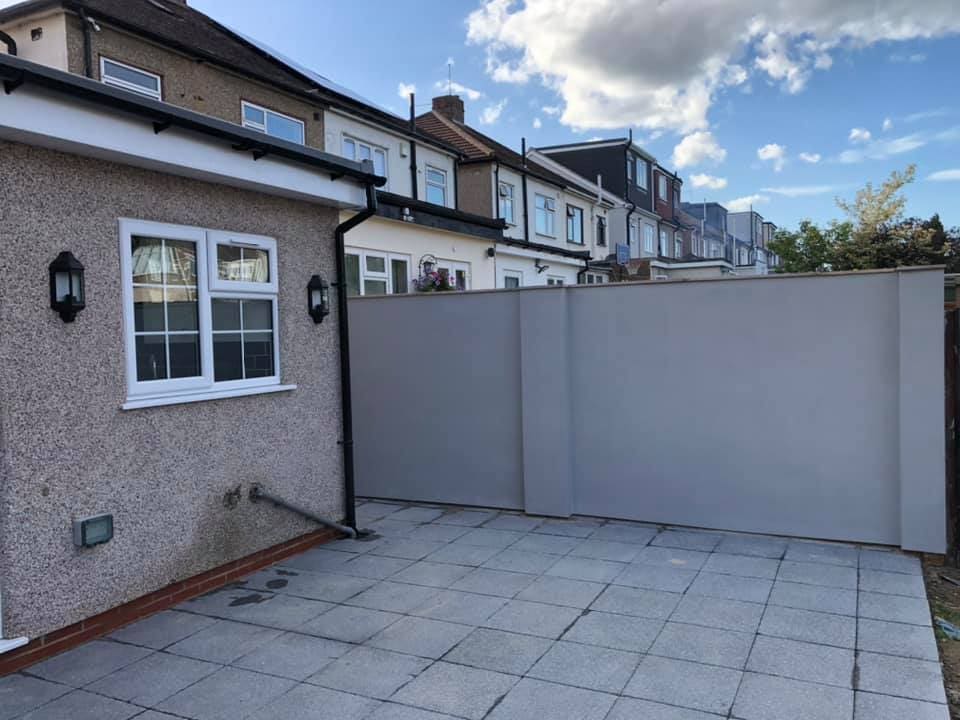
An extension should look like the house grew, not like something parked against it. The render here is pebbledash, matched to the original — the same aggregate, thrown the same way — and the windows sit in the same white as the rest of the elevation.
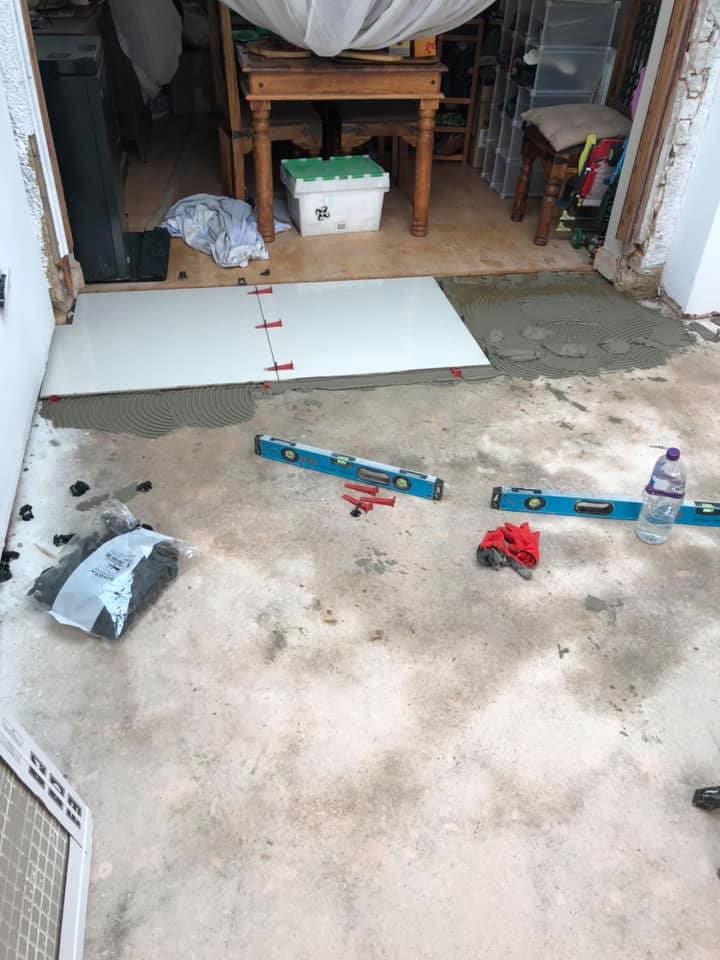
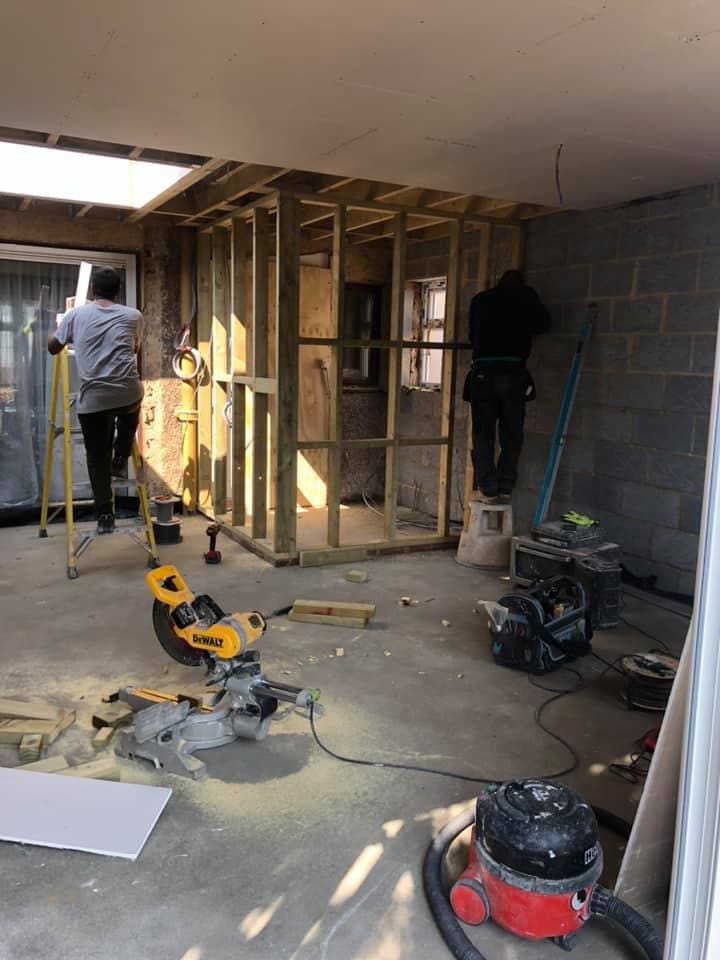
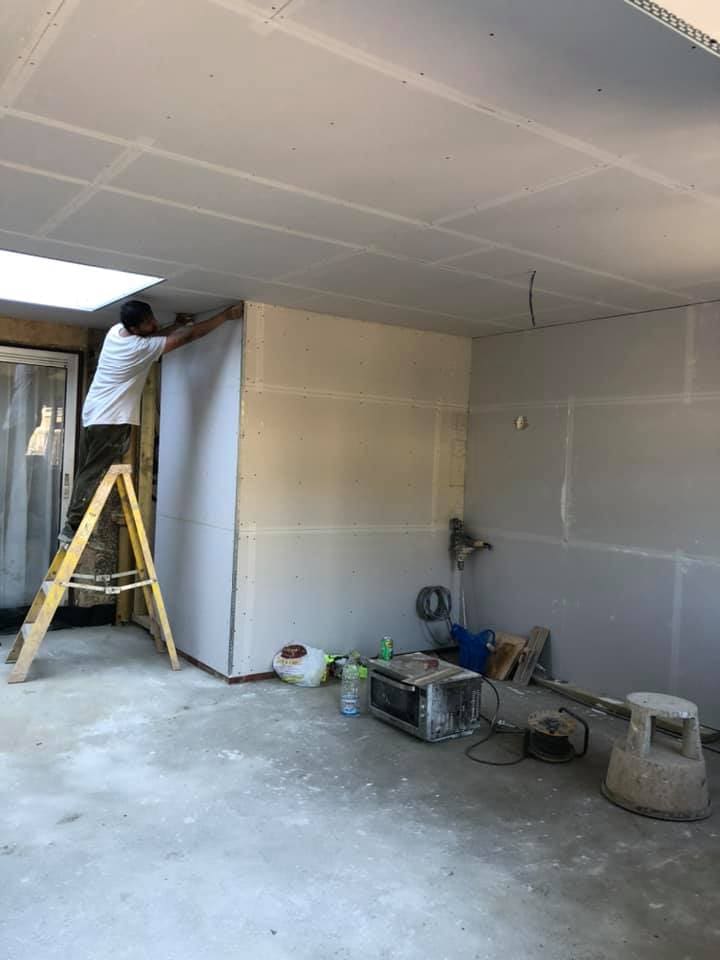
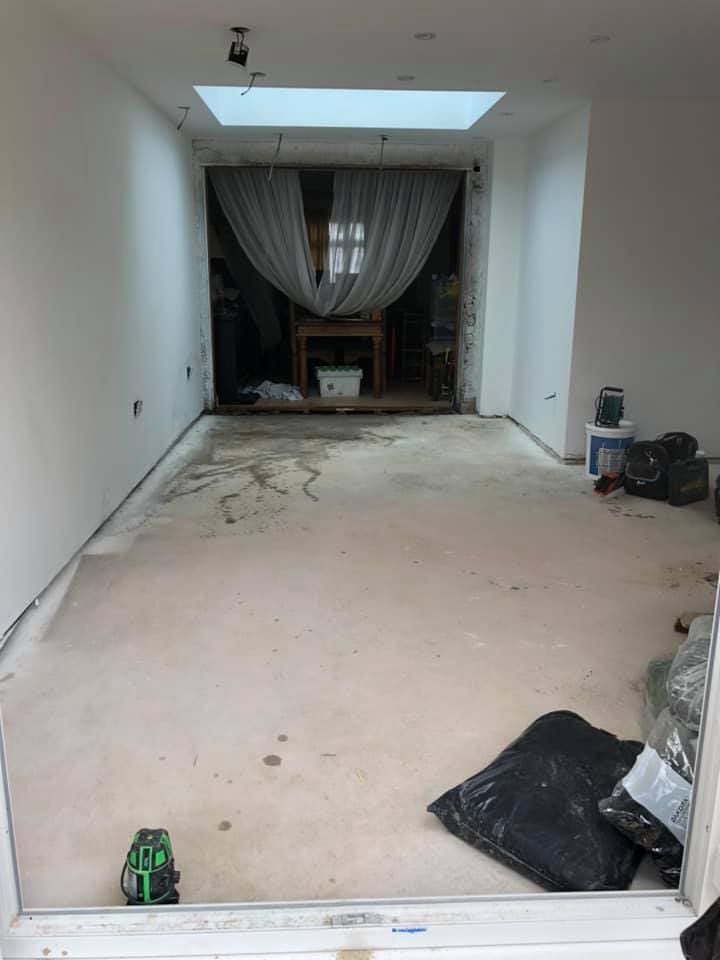
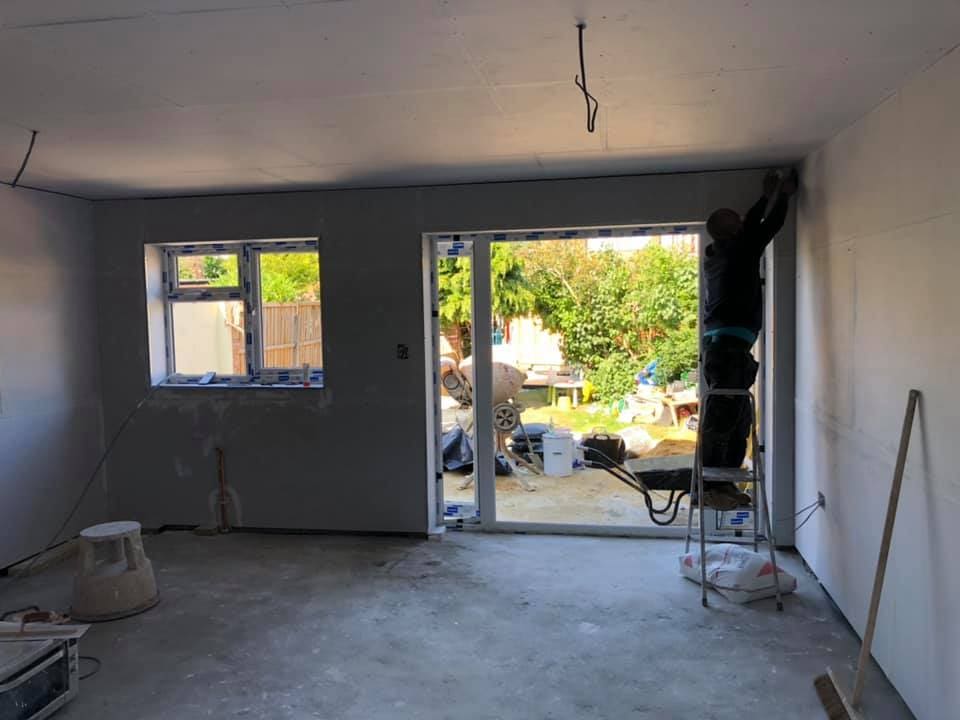
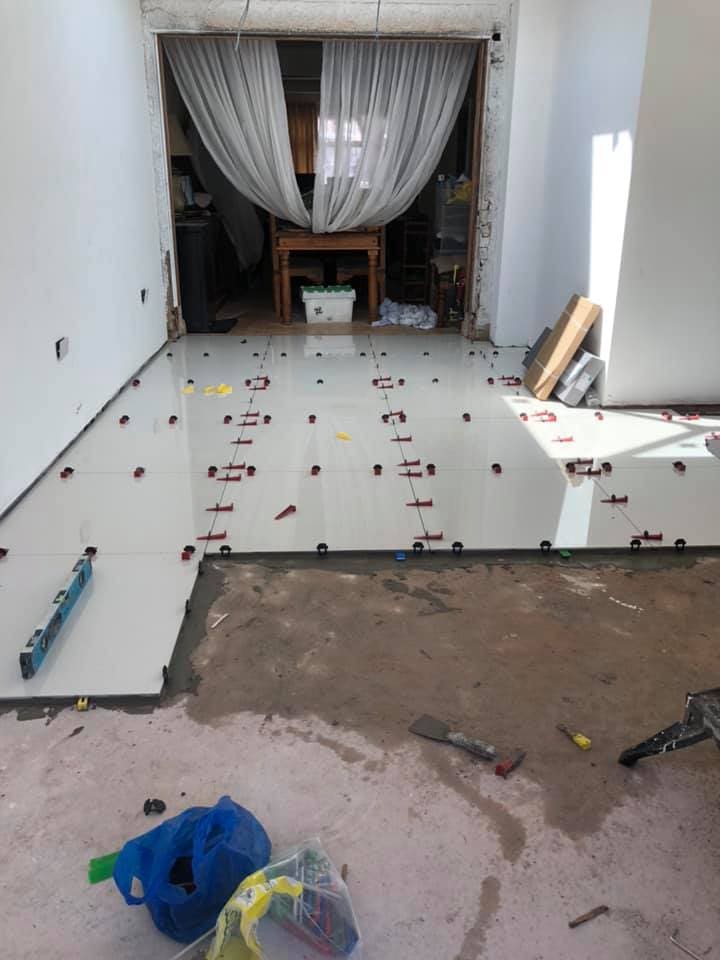
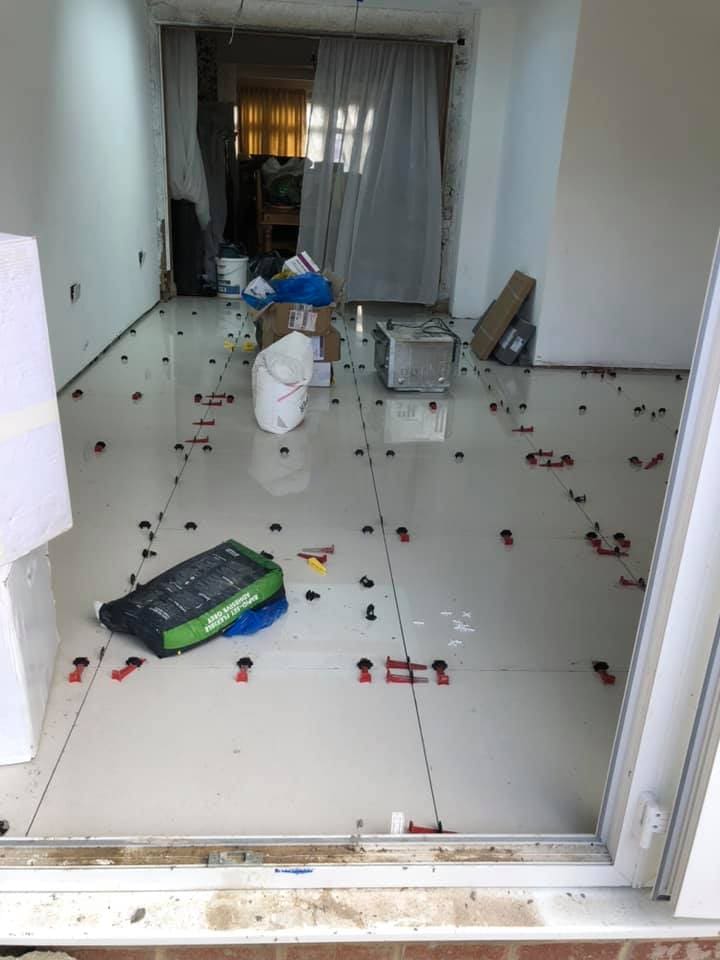
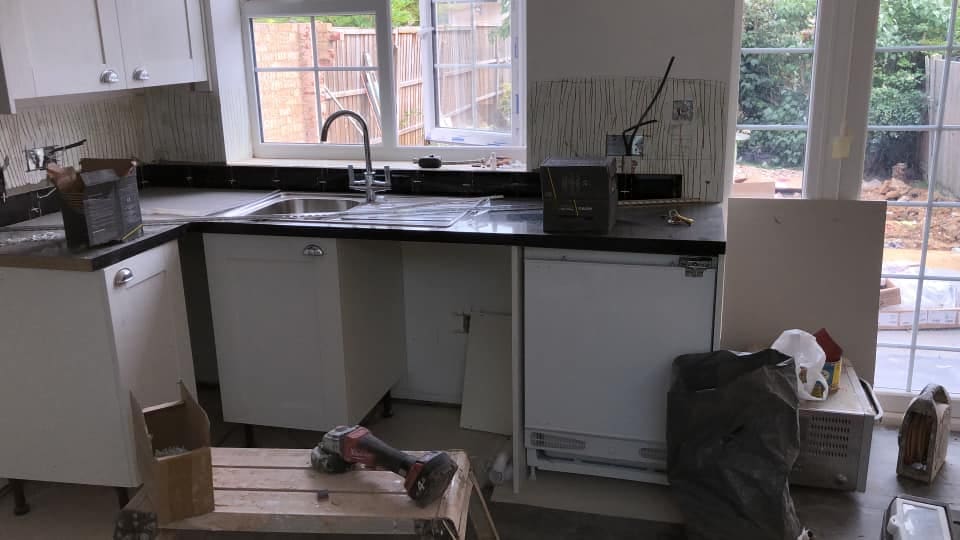
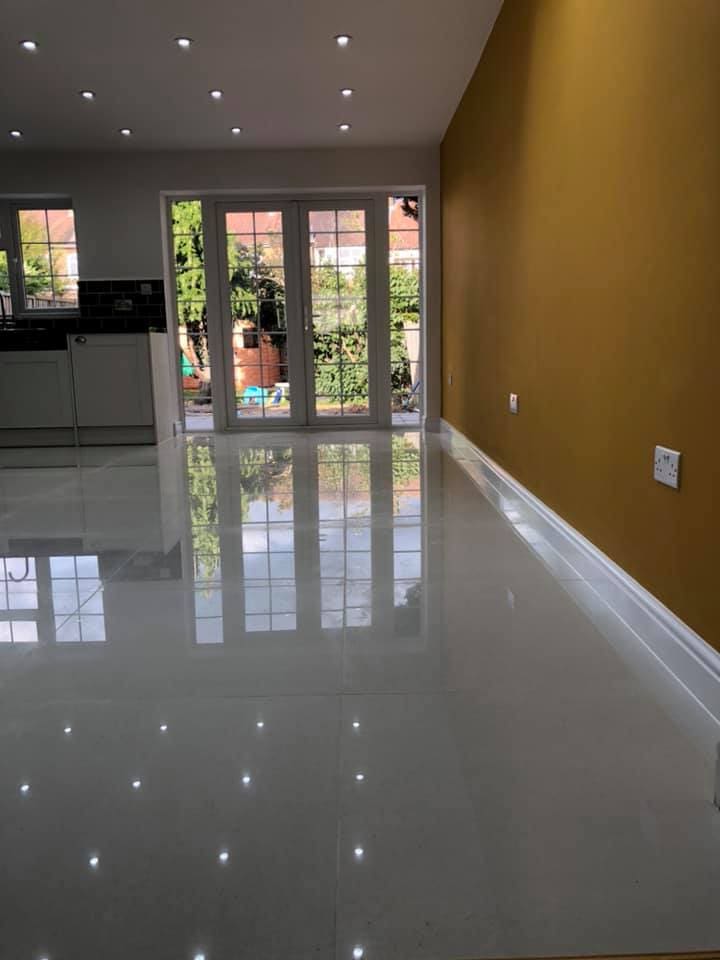
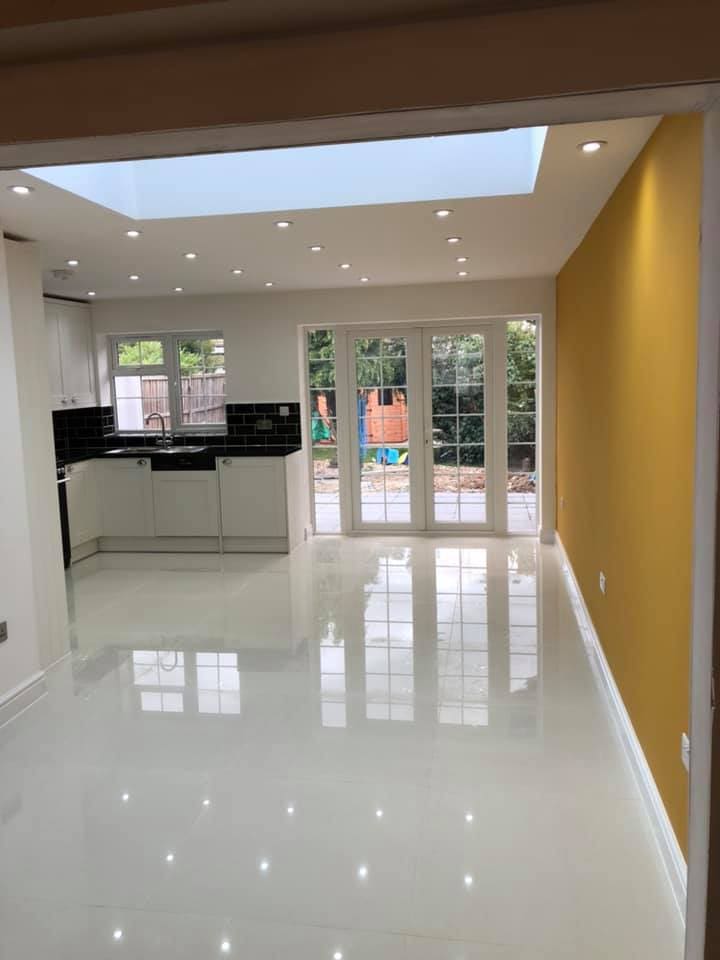
Inside, first fix, boarding and a full skim. Then the part that makes the room: large-format polished porcelain, laid with levelling clips so every edge kisses the next one flat.
The room they wanted
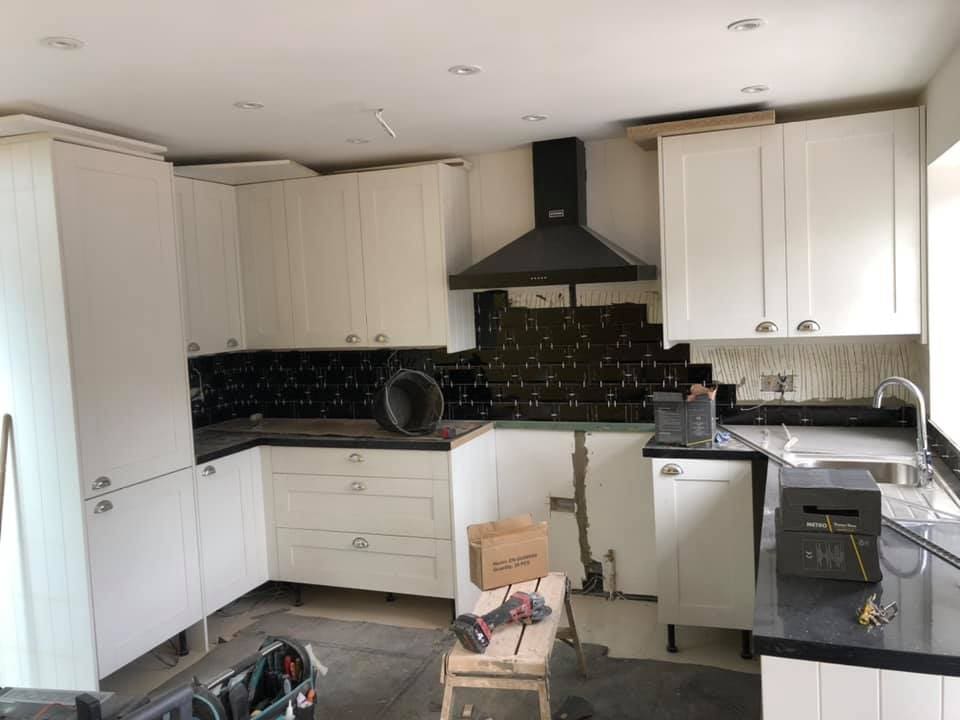
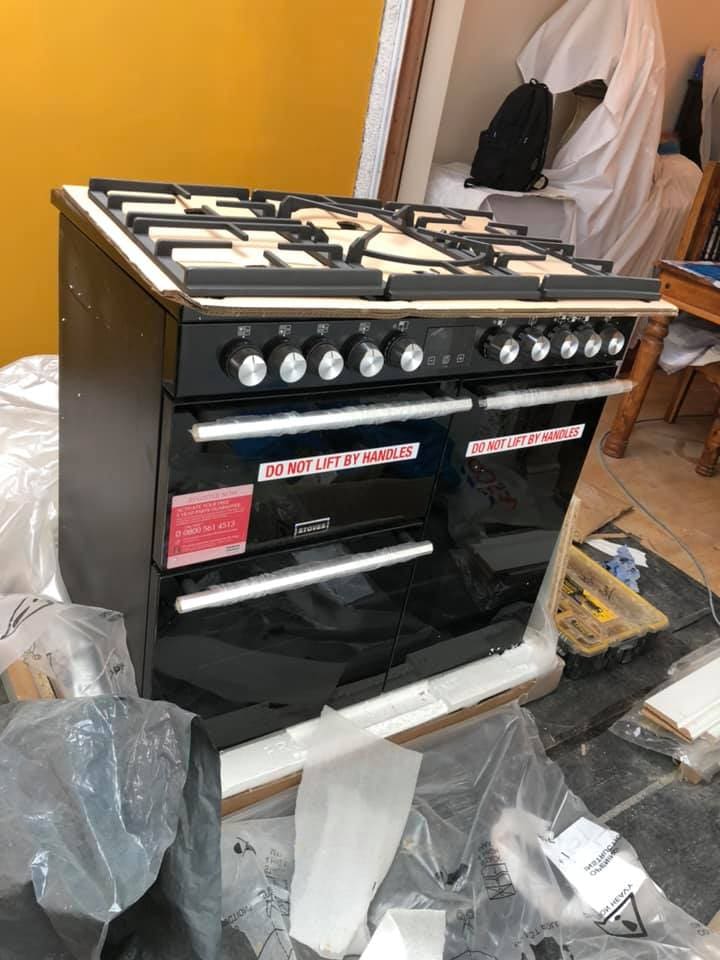
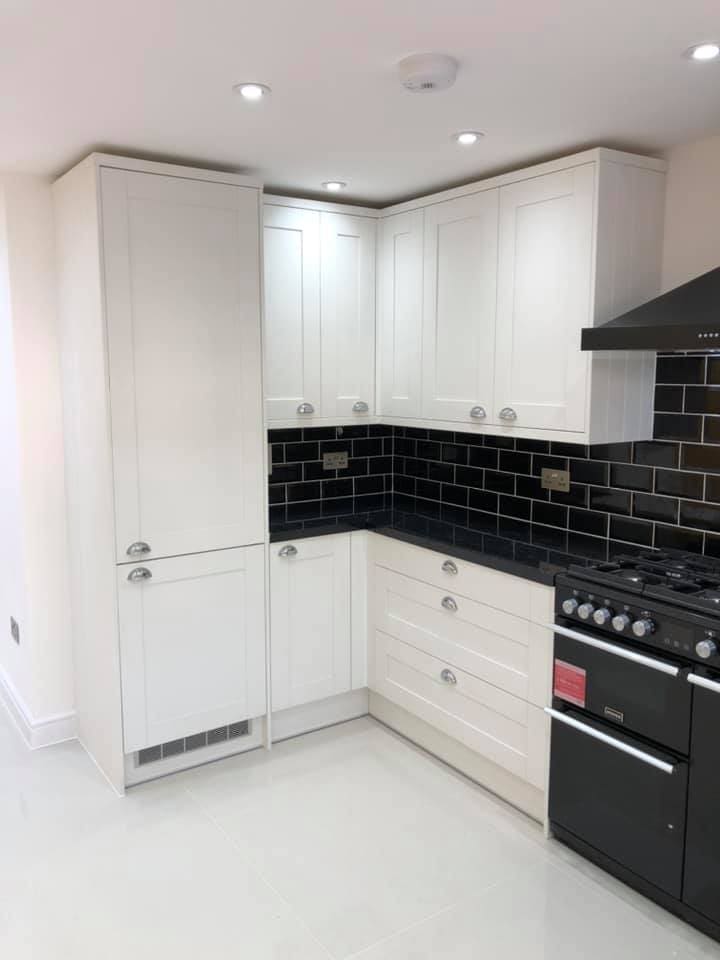
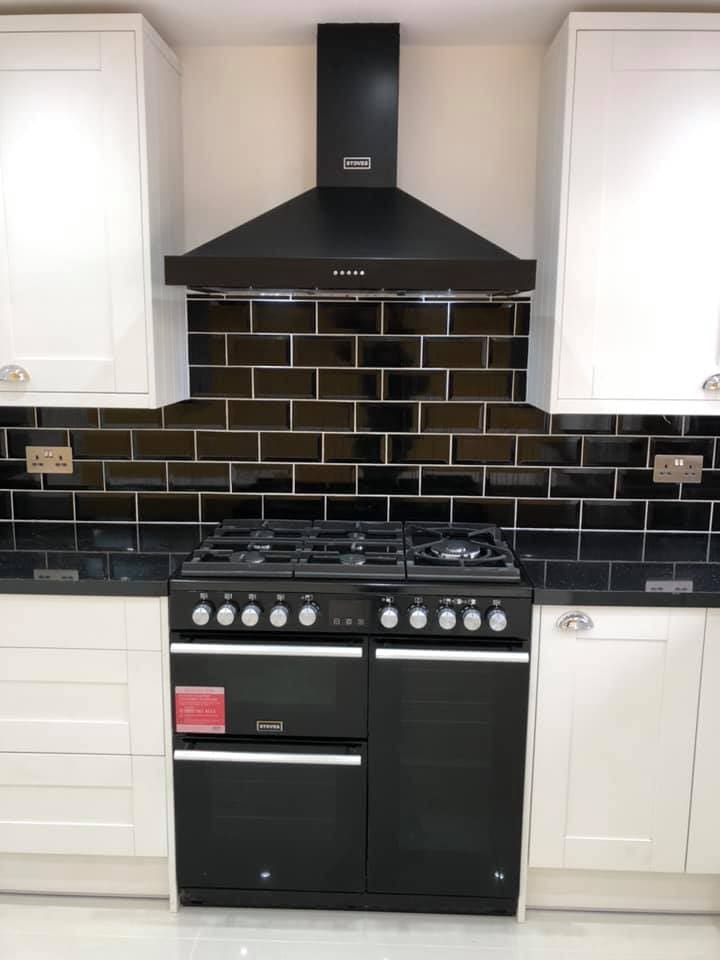
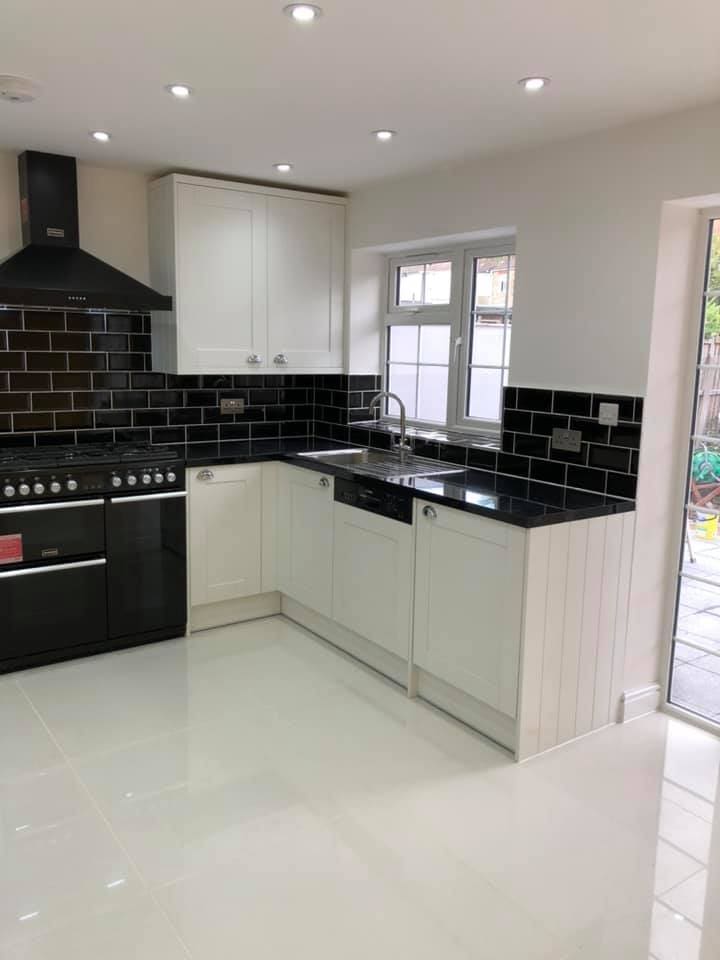
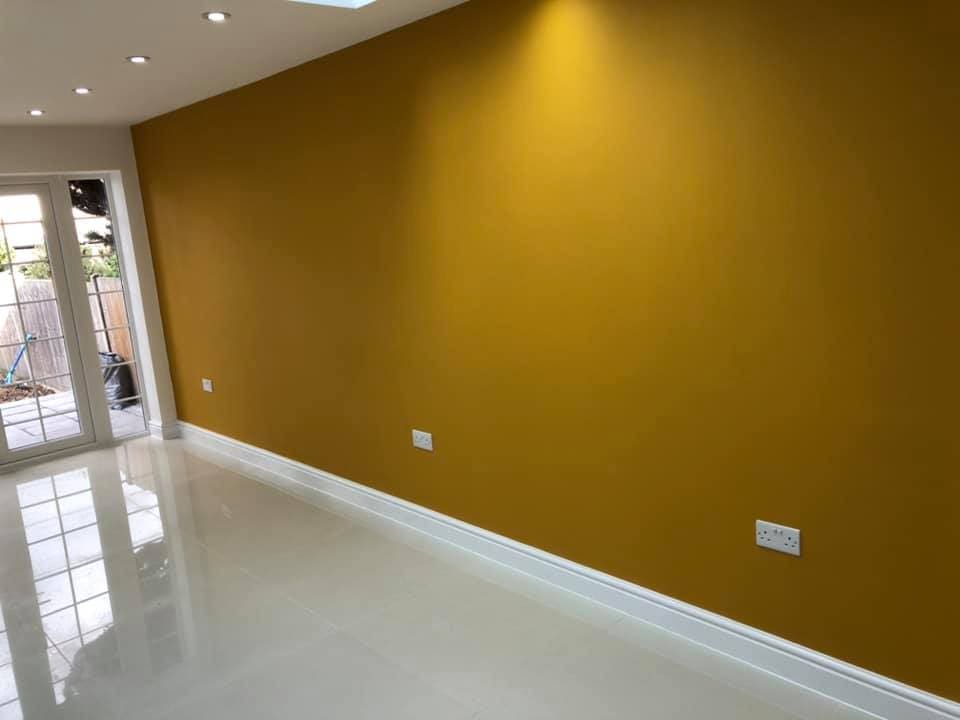
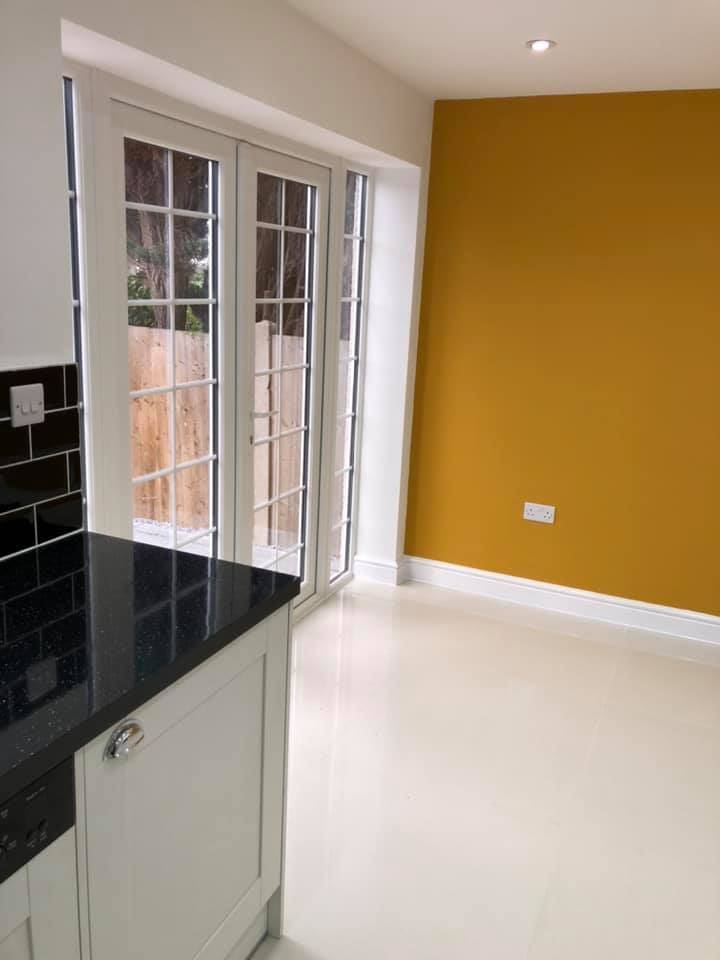
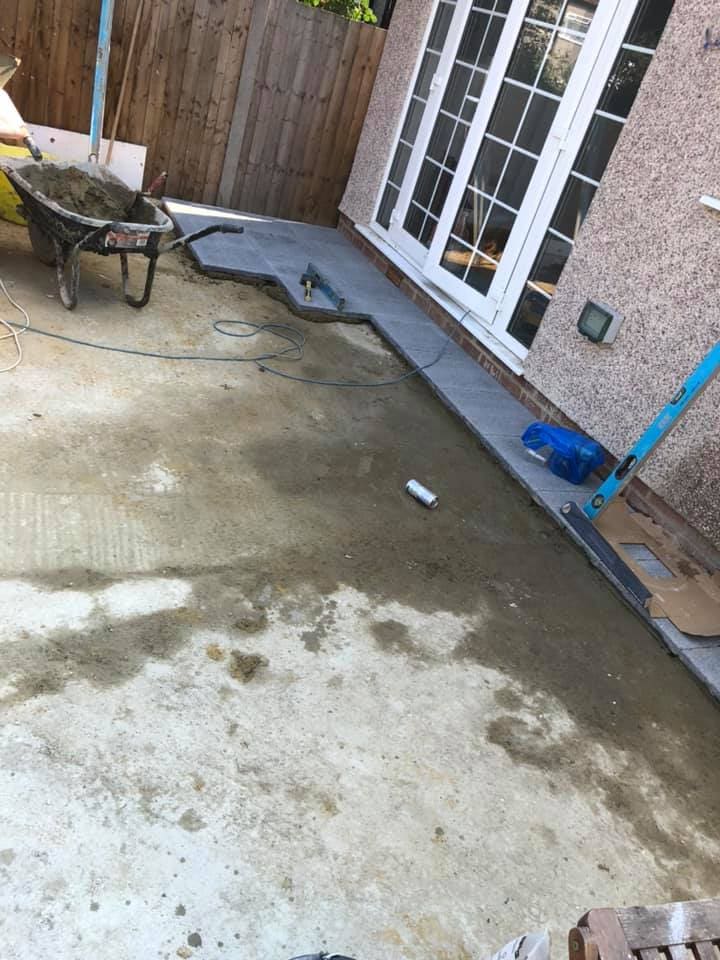
A white shaker kitchen with a black range and gloss metro tiles on one side; a deep ochre feature wall on the other; French doors and coach lamps onto a new patio with rendered garden walls.
That ochre wall was the client's call, and it makes the room. Our job was everything that lets a wall like that be the only thing you notice.
How every job of ours runs
It starts with a survey, not a phone estimate — then a fixed, itemised written scope before any deposit is discussed. Skips, scaffolding, licences, making good and waste removal are named in it rather than discovered later.
On site you get a named project manager and online progress tracking with photographs like the ones above. You pay in arrears of work completed, and where the work is notifiable, building control inspects at stages and issues the completion certificate — the paperwork a buyer's solicitor asks for years later.
- Service
- Extensions
- Photographs
- 51
- Payment
- In arrears
Answers
Common questions about work like this
Do I need planning permission for extensions in London?
It depends on the property type and what is proposed. Many single-storey rear extensions and loft conversions fall under permitted development, but those rights do not apply to flats and are restricted in conservation areas or where an Article 4 direction applies. We check the planning position for your specific address before quoting, and tell you in writing which route applies.
How do you price the work?
From a site survey, written up as a fixed and itemised scope before any deposit is discussed. If something genuinely unforeseen appears once work is opened up, it is priced and agreed in writing before we continue — never added to the final invoice after the fact.
When do I pay?
In arrears of work completed. You pay for work that has been done and inspected, not for work that has been promised. This has been how the company operates since 2008.
Do you handle Party Wall notices?
Yes, where the work requires them. Under the Party Wall etc. Act 1996, notifiable work on a shared wall needs 2 months written notice to the adjoining owner, while excavation near a neighbouring structure and building at the line of junction need 1 month. We serve the notices and manage the award process as part of the job.
Will I get certificates at the end?
Yes. Electrical work is tested and certificated under Part P, and building control issues a completion certificate where an application was required. You receive the handover pack — it is what a buyer's solicitor will ask for when you eventually sell.
How long will it take?
It depends entirely on scope, and we give a programme with the written quote rather than a guess on the phone. What we will not do is start a job we cannot resource, which is the usual reason a build stalls halfway through.
More stories
Other projects
Skip the forms
Want yours photographed like this?
Every job we run is documented stage by stage — it is how our project tracking works. Send us a photo of your space to start.